Previews and Samples for Template Builder
Smart Flows allows you to preview the template you're making, so that you can check what your document will look like.
Previews are temporary documents that you create with sample data. They are an important part of the template design process, as they allow you to quickly check the impact of the changes you made in the template.
Because data sets do not contain data, you really cannot generate meaningful previews with just a template and its data set. The data you need comes from samples, which hold sample data that you can use for previews.
Samples
You can attach samples to data sets in the Project Console - how to do that is explained on this page. After attaching one or more samples to this template's data sets, select Samples to bring up a window where you can manage your samples:
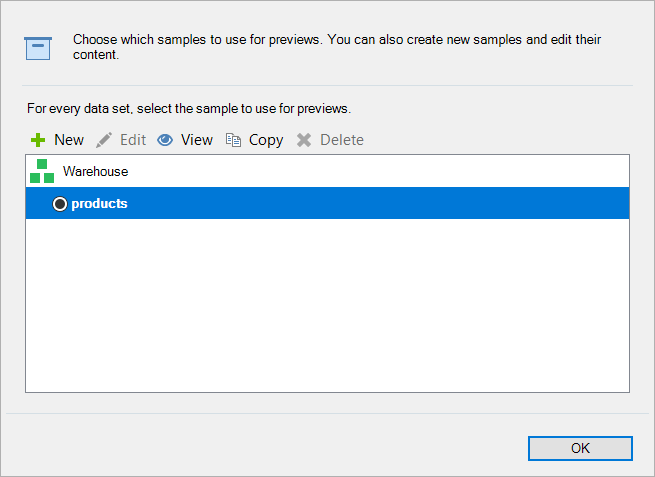
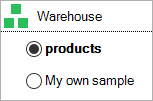
The template for this example only has one data set (Warehouse) with one sample (products), but there could be more. In that case, the bullet list shows you which is the one that will be used for previewing for that data set.
Tip: Using samples is not required or necessary, but they greatly speed up the design phase by allowing you to see the impact of your changes immediately. Therefore, we highly recommend you use them.
Sample types
There are 4 types of samples:
- Record sample: a sample defined by a reference to a record. These are updated automatically whenever the record it points to is updated. Used by standard data sets.
- XML sample: a sample defined by an XML file. Typically used with an XSD schema data set.
- Custom sample: a sample for a user input scenario. Used in conjunction with custom data sets.
- Published local sample: a sample that was created and published from within the Word add-in, based on a record sample for a standard data set (or created from scratch for schema or custom data sets).
Local samples have 2 major benefits:
- You can adjust them however you like, on the fly. This can be a great tool to help with designing complex templates and you wish to try different scenarios quickly.
- All local samples are saved in the .docx file, meaning that if you give this file to someone else, they will also have access to these samples. It is highly recommended to make local copies of samples before you pass on a .docx file, so that the other person can quickly see what your templates looks like when it becomes a finished document.
Creating & editing local samples
You can make new samples from scratch for schema or custom data sets. You can use the following steps to create a local sample.
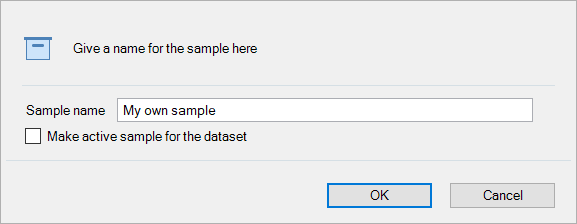
| 1. | Select New to open this window: |

| 2. | Select OK - now the sample is added to the list and you can edit it. |
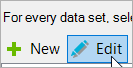
| 3. | To edit the selected sample, select Edit: |
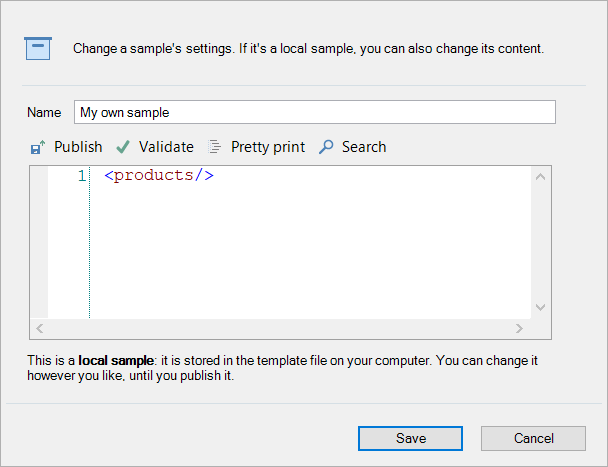
A new window displays.
| 4. | Whether or not you start with an empty sample or copy another, select Save to save the sample. |
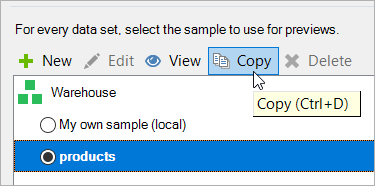
| 5. | If you've got valid XML, you can paste it in. To use another sample's content as the starting point, use Copy: |
The edit window also has the following buttons:
 You can use Pretty print to make the XML easier to read. It restructures the spacing and indentation of the data to make hierarchy clearer.
-
 Validate checks to see whether the XML is valid. If not, you'll be warned.
Take note that this does NOT check whether your XML adheres to the data set's structure - valid XML may still not work with the data set, meaning the sample data won't work. You won't get an error in this case.

Publishing samples
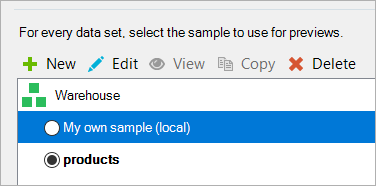
Making new samples first makes them on your computer only - they are local. You can see this in the samples window:
Notice that it says (local) next to it: this indicates that the sample is on your computer and cannot be accessed by other template designers until you publish it.
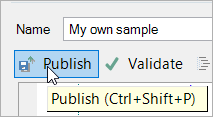
To publish a sample, select it and then select Edit, then select Publish:
After publishing, it will no longer say (local) next to it:
And in the project console, you'll now see the sample with the other one:
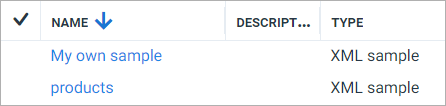
Both samples are static XML samples, whether or not they were made in the project console or the Word add-in.
In the case of standard data sets with record samples, the sample is a Published local sample:

Record samples, which are samples made for standard data sets, reference a record and thus, when the record is updated, these samples are updated as well. Published local samples can be copies of them, but their content is static and will not change unless you change it manually in the Word add-in.
Viewing samples
There are two ways to view the content of a sample: in the Samples window, or using the Field Inspector
Samples window
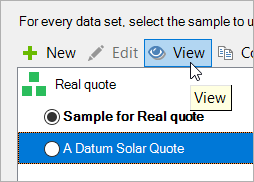
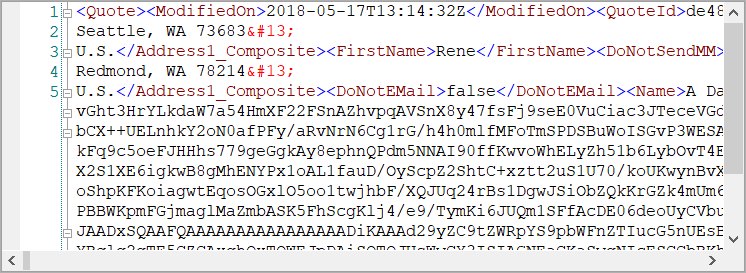
In the Samples window, select the sample you wish to look at and select View:
We advise you to use Pretty Print to make the sample more readable. With and without pretty print:

Field inspector
The Field inspector only shows one field's content at a time, but it's very helpful when mapping fields:
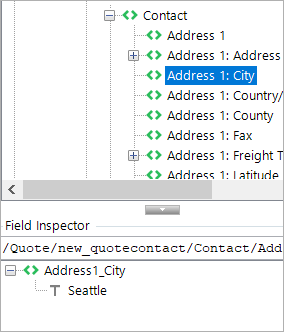
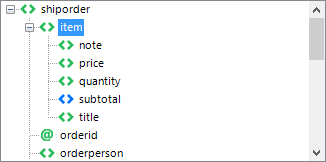
First, select a field in the data set tab of the pane:
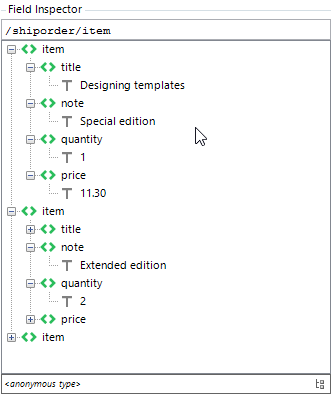
Then, the Field inspector (below the data set) shows the content of the selected element (and its children):
Previewing
To see the extent of the changes you've made so far, you can preview your document. Select Preview to do that:
Smart Flows will then generate a document for you in the background, which your computer will open automatically.
You can select the arrow below Preview to bring up a list of supported preview formats:
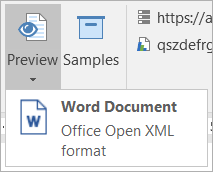
For now, only .docx is supported.
Refreshing
Whenever a new or updated version of a data set, sample, template or asset is available on the server, it will not be automatically updated in the Word add-in.
To update all of the items related to a template, select the Refresh button in the ribbon:

Refreshing your template when you suspect changes to any of the related items is a good way of making sure that you're working with the latest version of the data set, sample etc.