Languages
The Smart Flows project allows for the creation and management of flows in multiple languages. This enhances the user experience and accessibility of your project. You can reach a wider audience and cater to their specific language preferences by offering content in various languages.
Moving forward, we will delve deeper into navigating the Languages user interface, using different operations, editing language parameter settings in a flow block, and creating language-specific flow variants.
Accessing the Languages User Interface
|
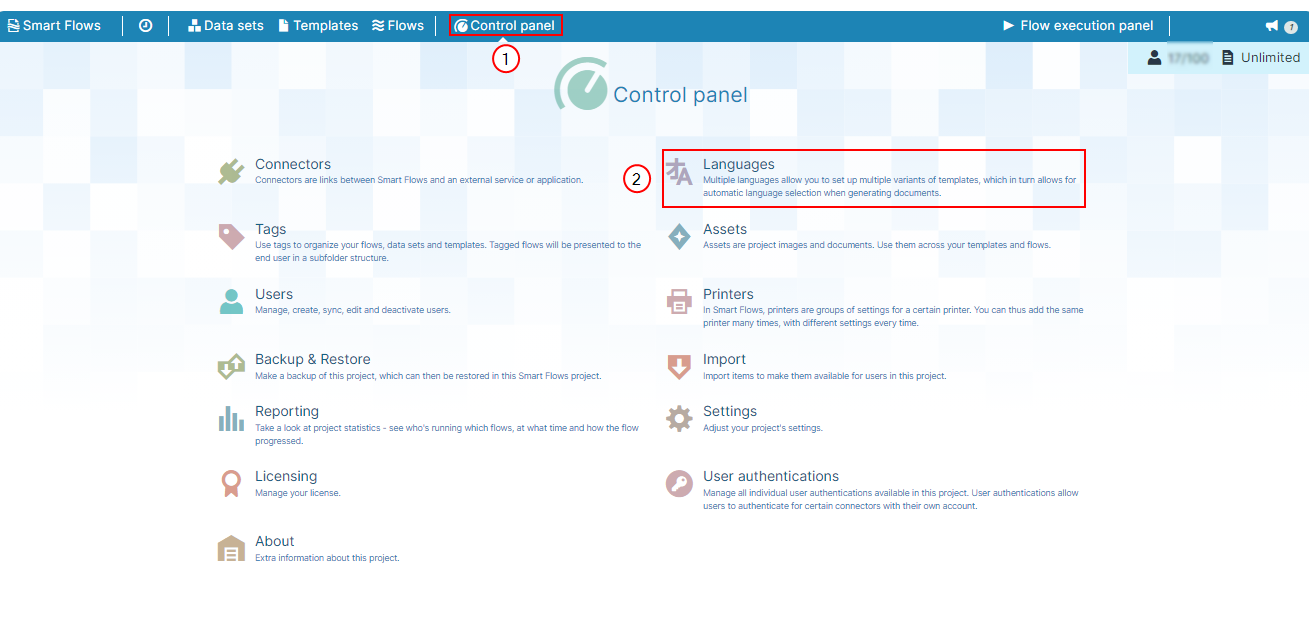
1.
|
In Project Console, select the Control Panel. |
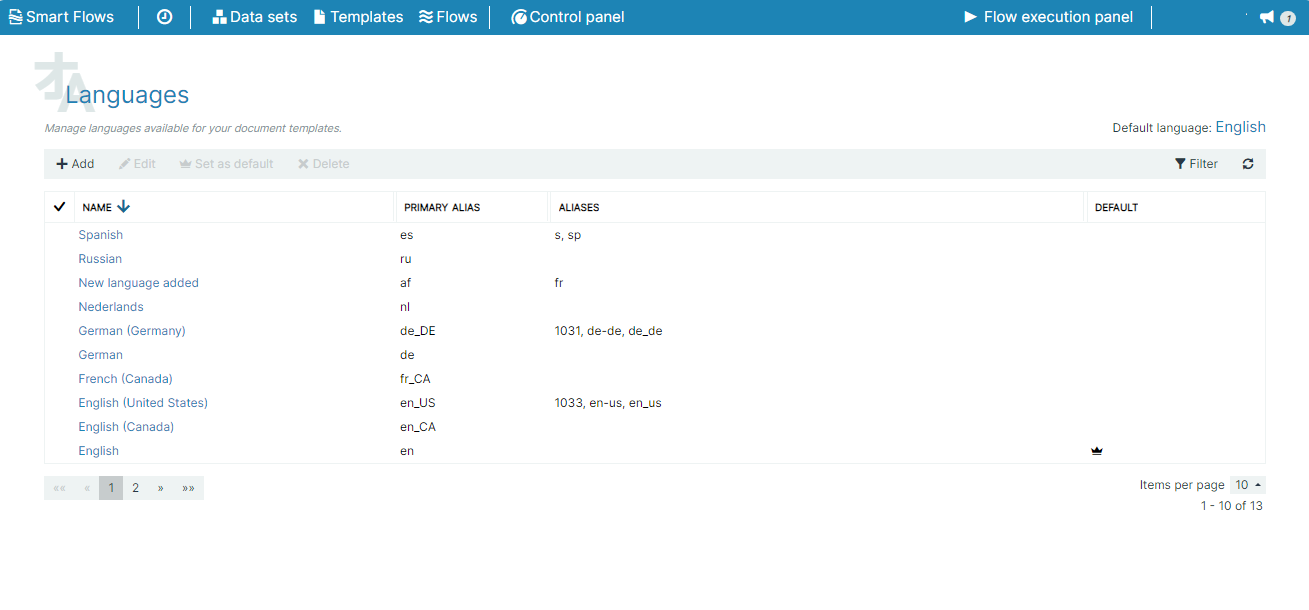
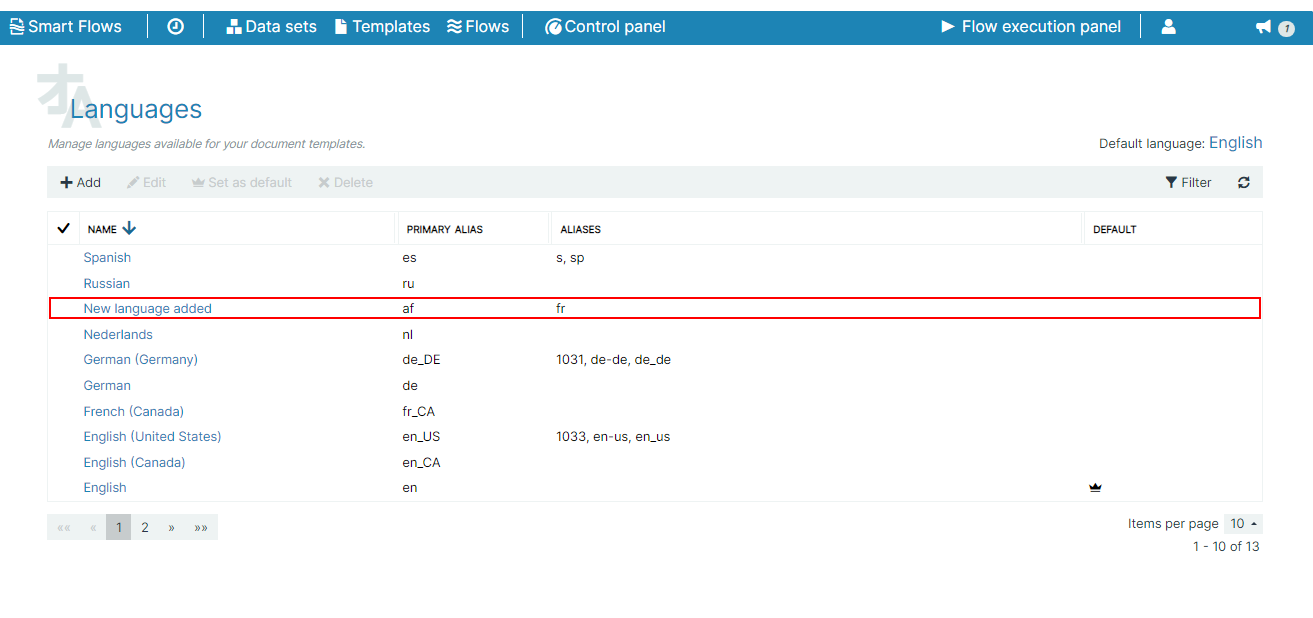
The Languages List view displays.
Procedures
This section explains how to add new languages, edit existing ones, and set language parameters for flow blocks.
Adding Languages
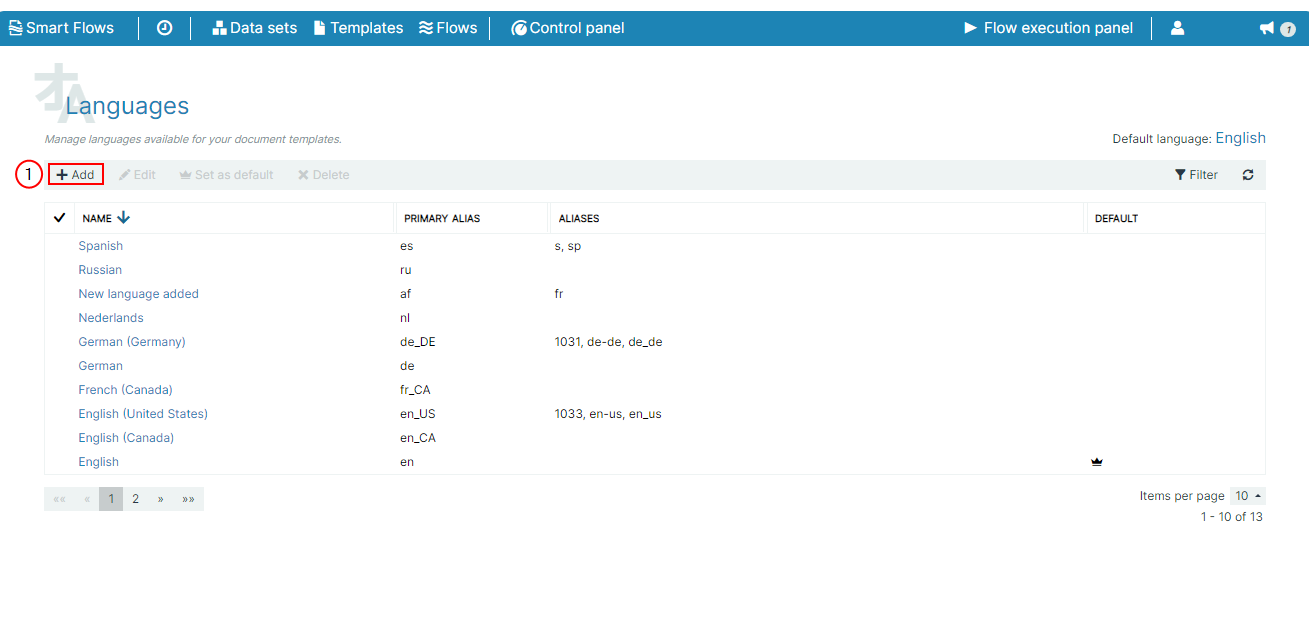
On the Languages List view, you will see an operation ribbon at the top with operation buttons like Add, Edit, and more.
|
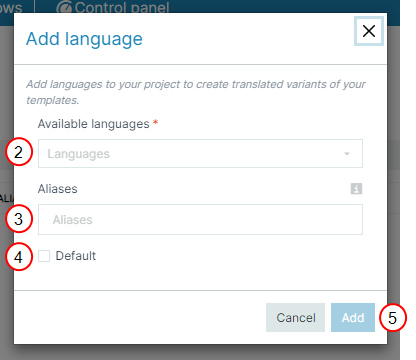
2.
|
Inside the Add Language dialog, from the Available languages dropdown menu, select a language. |
|
3.
|
In the text box., add to your language |
|
4.
|
(Optional) Select the Default checkbox, if you want this language as to be the default for all your content. |
In the Languages List view, the new language displays.
Editing Languages
|
1.
|
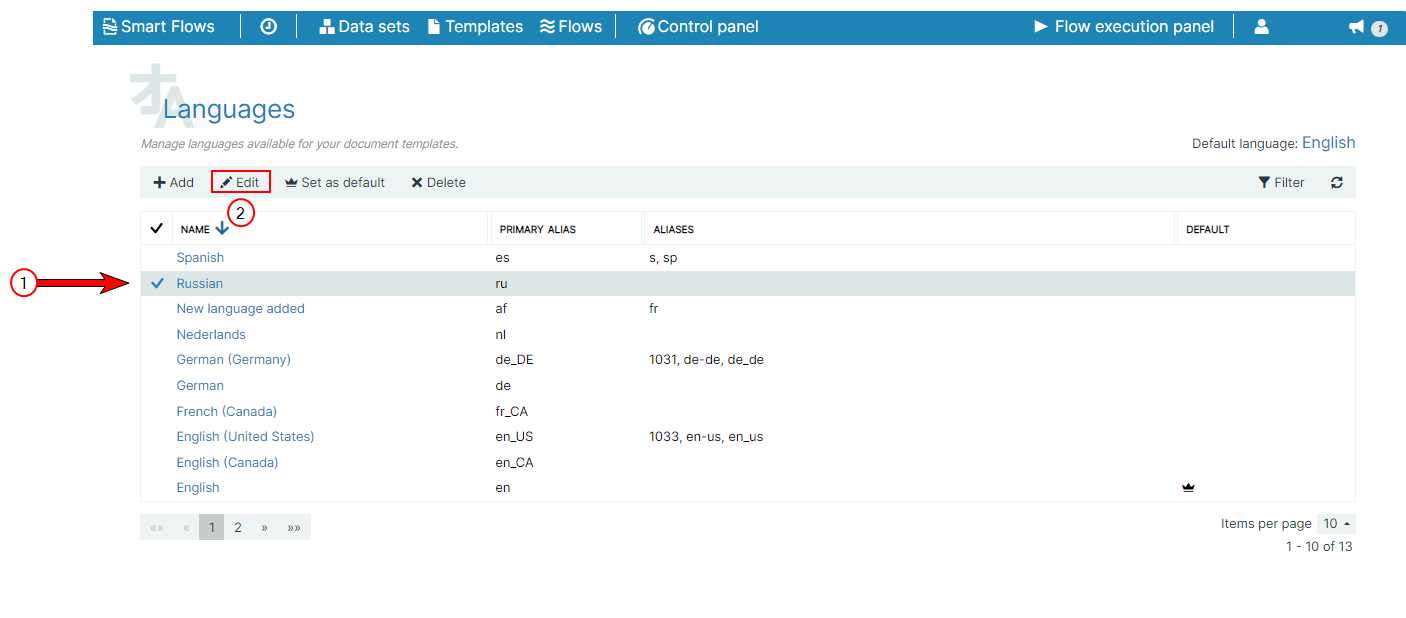
On the Languages List view, select a language item you want to edit. |
|
2.
|
On the operation ribbon at the top, select Edit o or double-click the selected language. |
|
3.
|
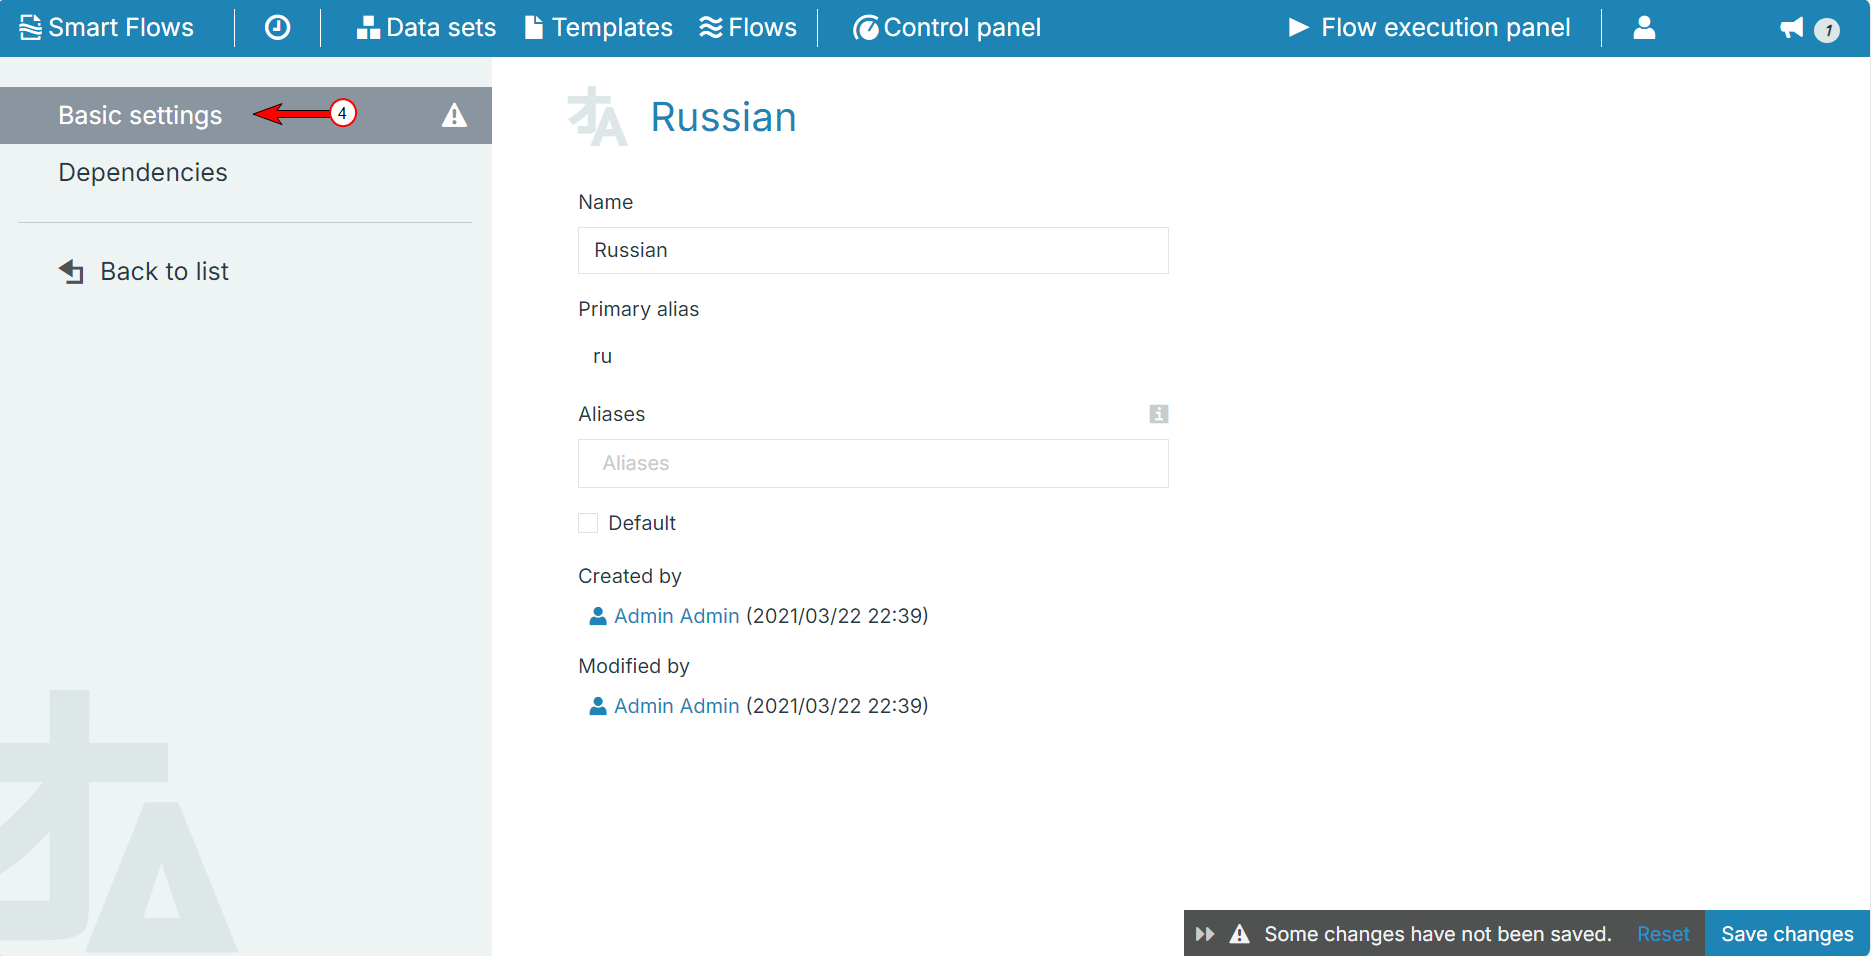
Select the Basic settings tab to edit details such as name, aliases, and more. |
|
4.
|
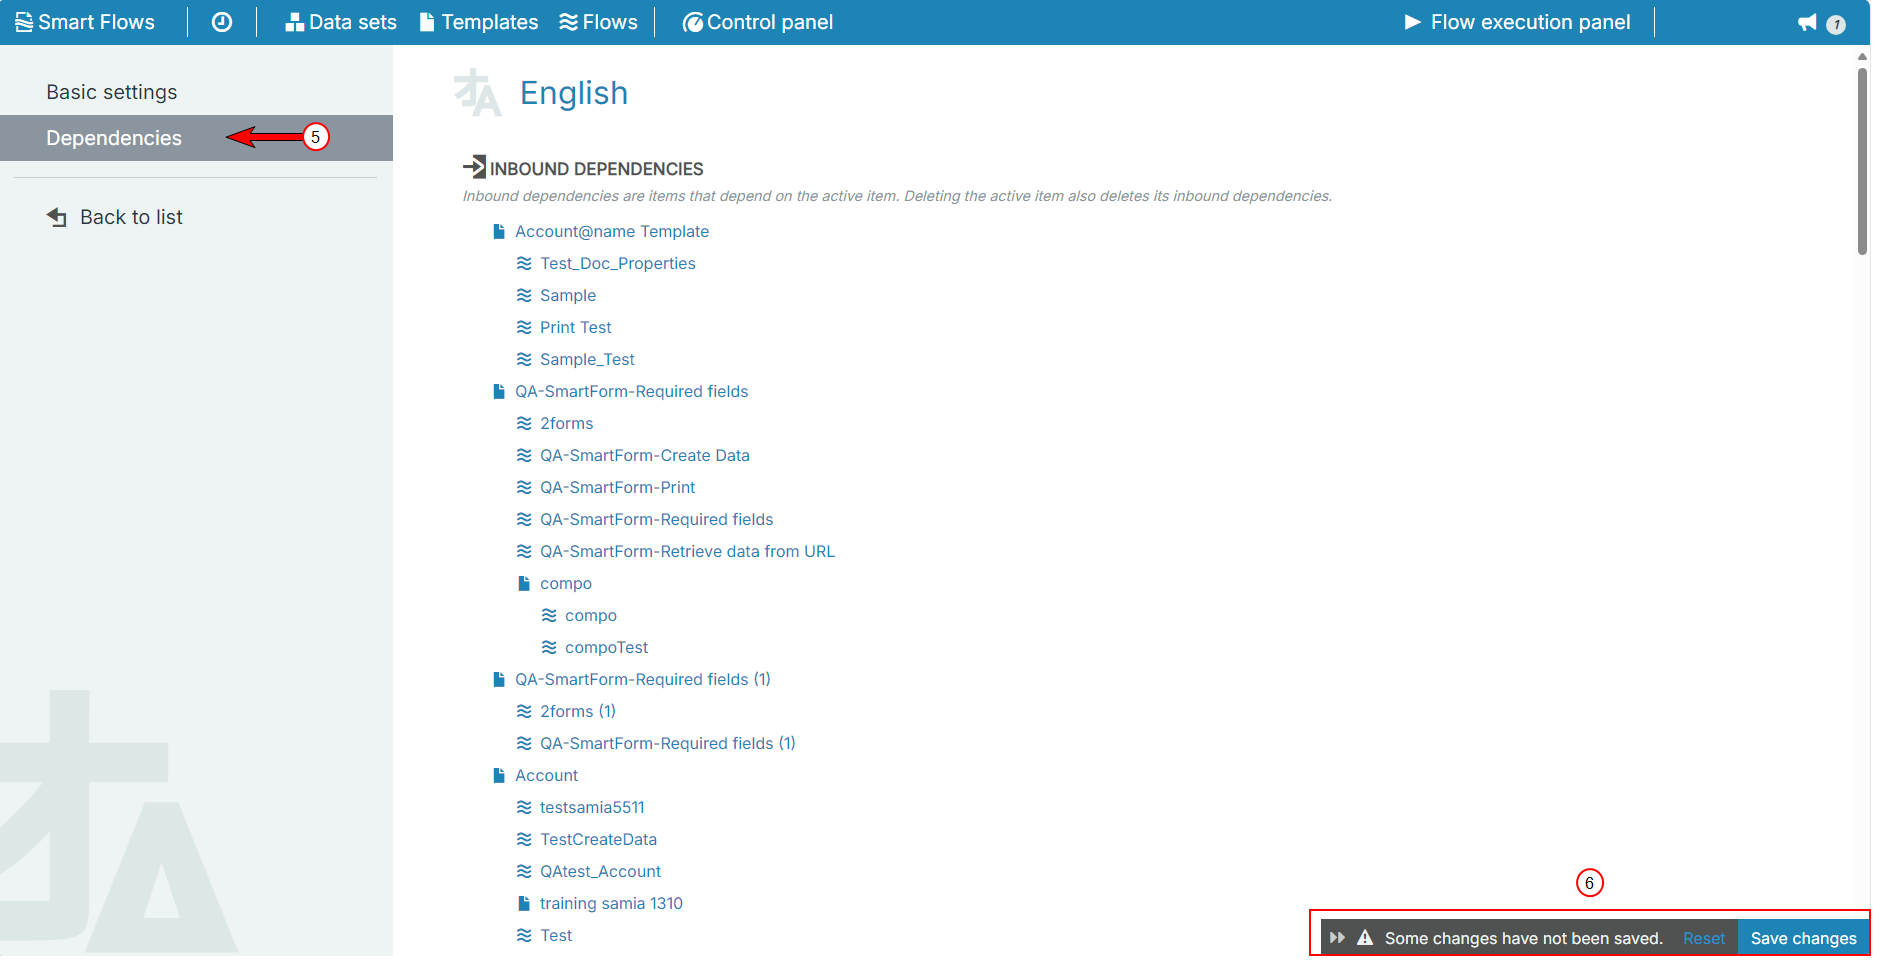
(Optional) Select the Dependencies tab to see the INBOUND DEPENDENCIES of this item. |
Inbound dependencies are items that depend on the active item. Deleting the active item also deletes its inbound dependencies.
|
5.
|
At the bottom right of your screen, select Save changes. |
Setting language parameters for a flow block
Configuring language parameters for flow blocks in multilingual projects ensures that the content reaches your audience in their preferred language. We will explore the various language settings for flow blocks:
-
None (Default)
-
Manual
-
User Selectable
-
Automatic
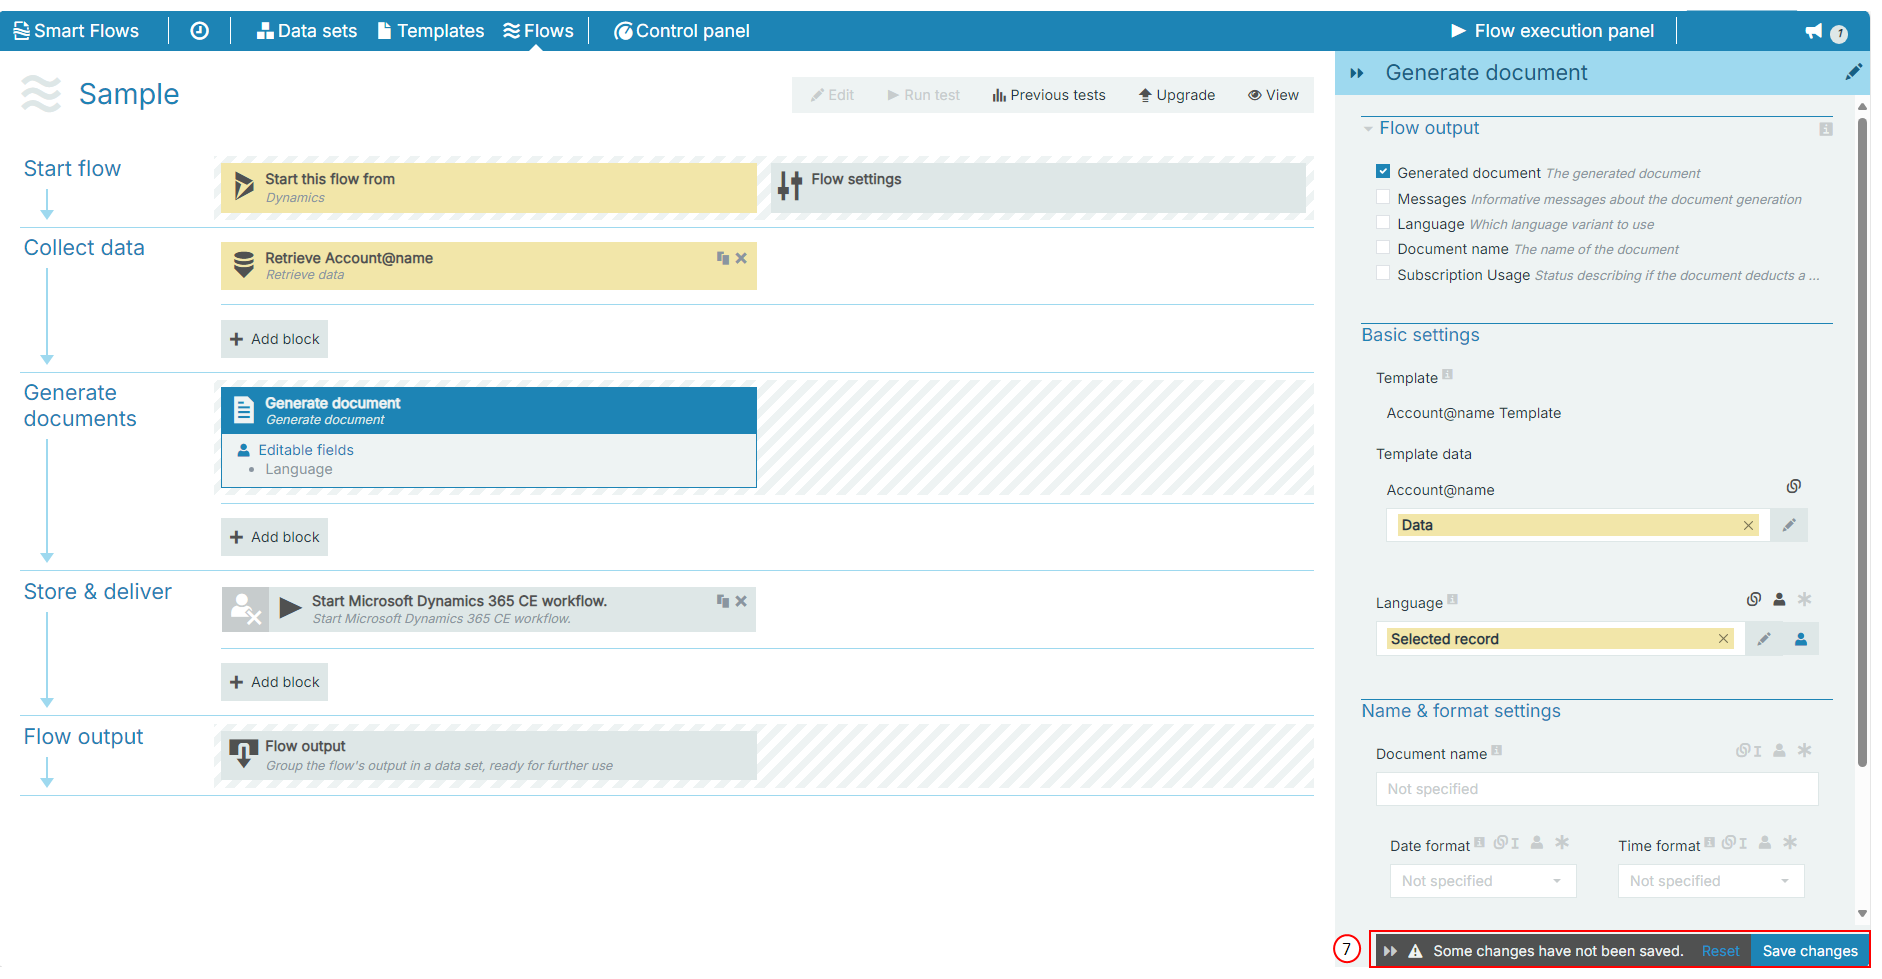
Let's take the Generate document flow block function as an example to understand all the different language settings you can apply to a flow block.
Default and Manual Setting
|
1.
|
In Project Console, select the Flows. |
|
2.
|
Open a flow you want to edit for a particular language setting. |
|
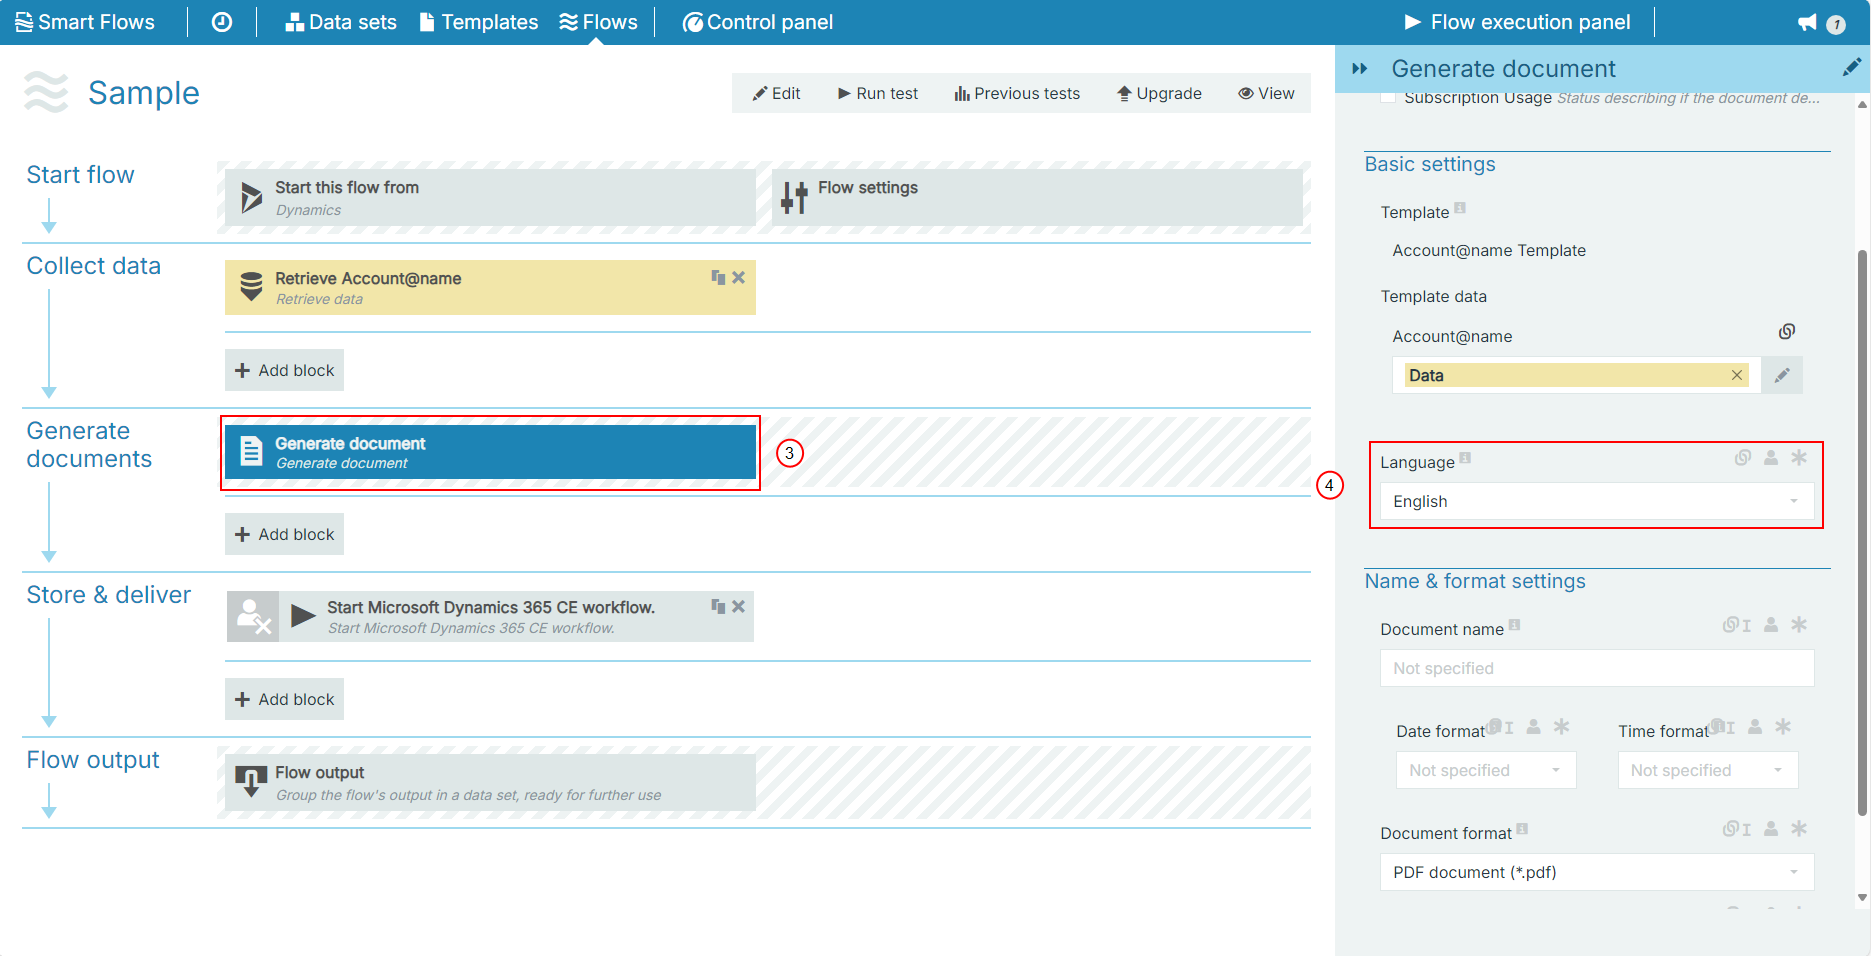
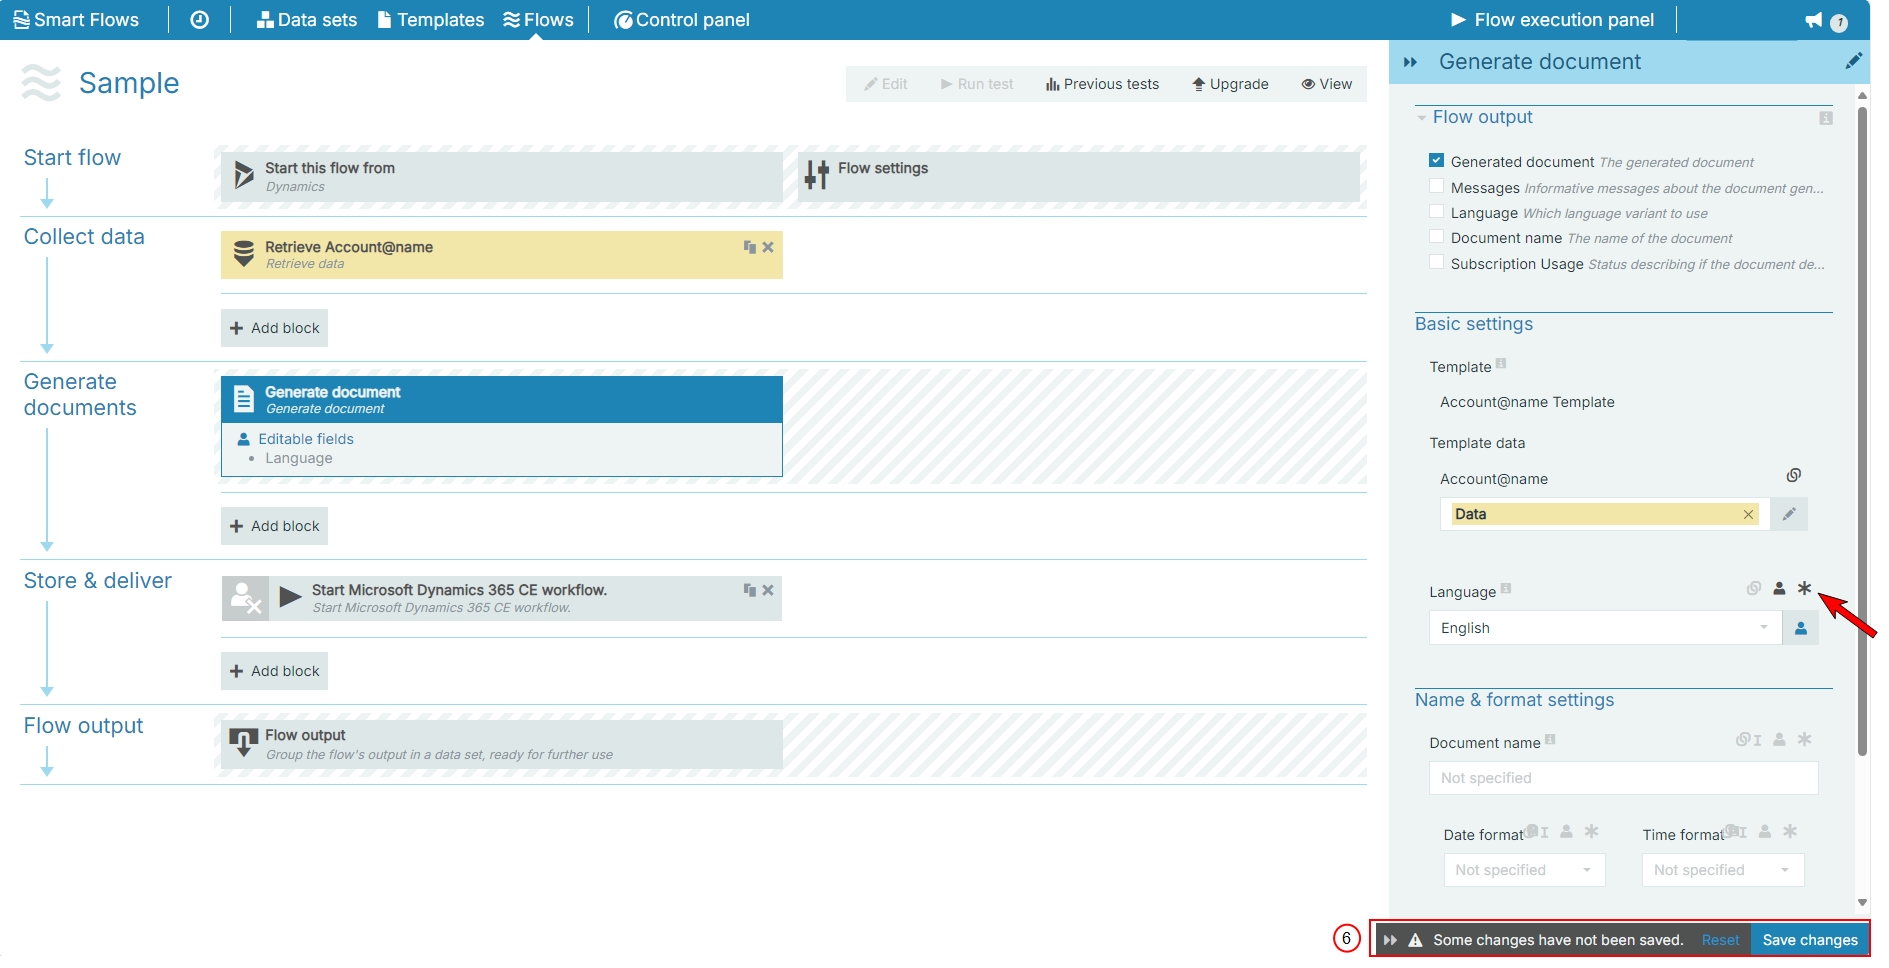
4.
|
Navigate to the parameter settings. Under Basic settings, you find the Languages parameter. You see the default language in the dropdown because you haven’t set anything up yet. |
|
5.
|
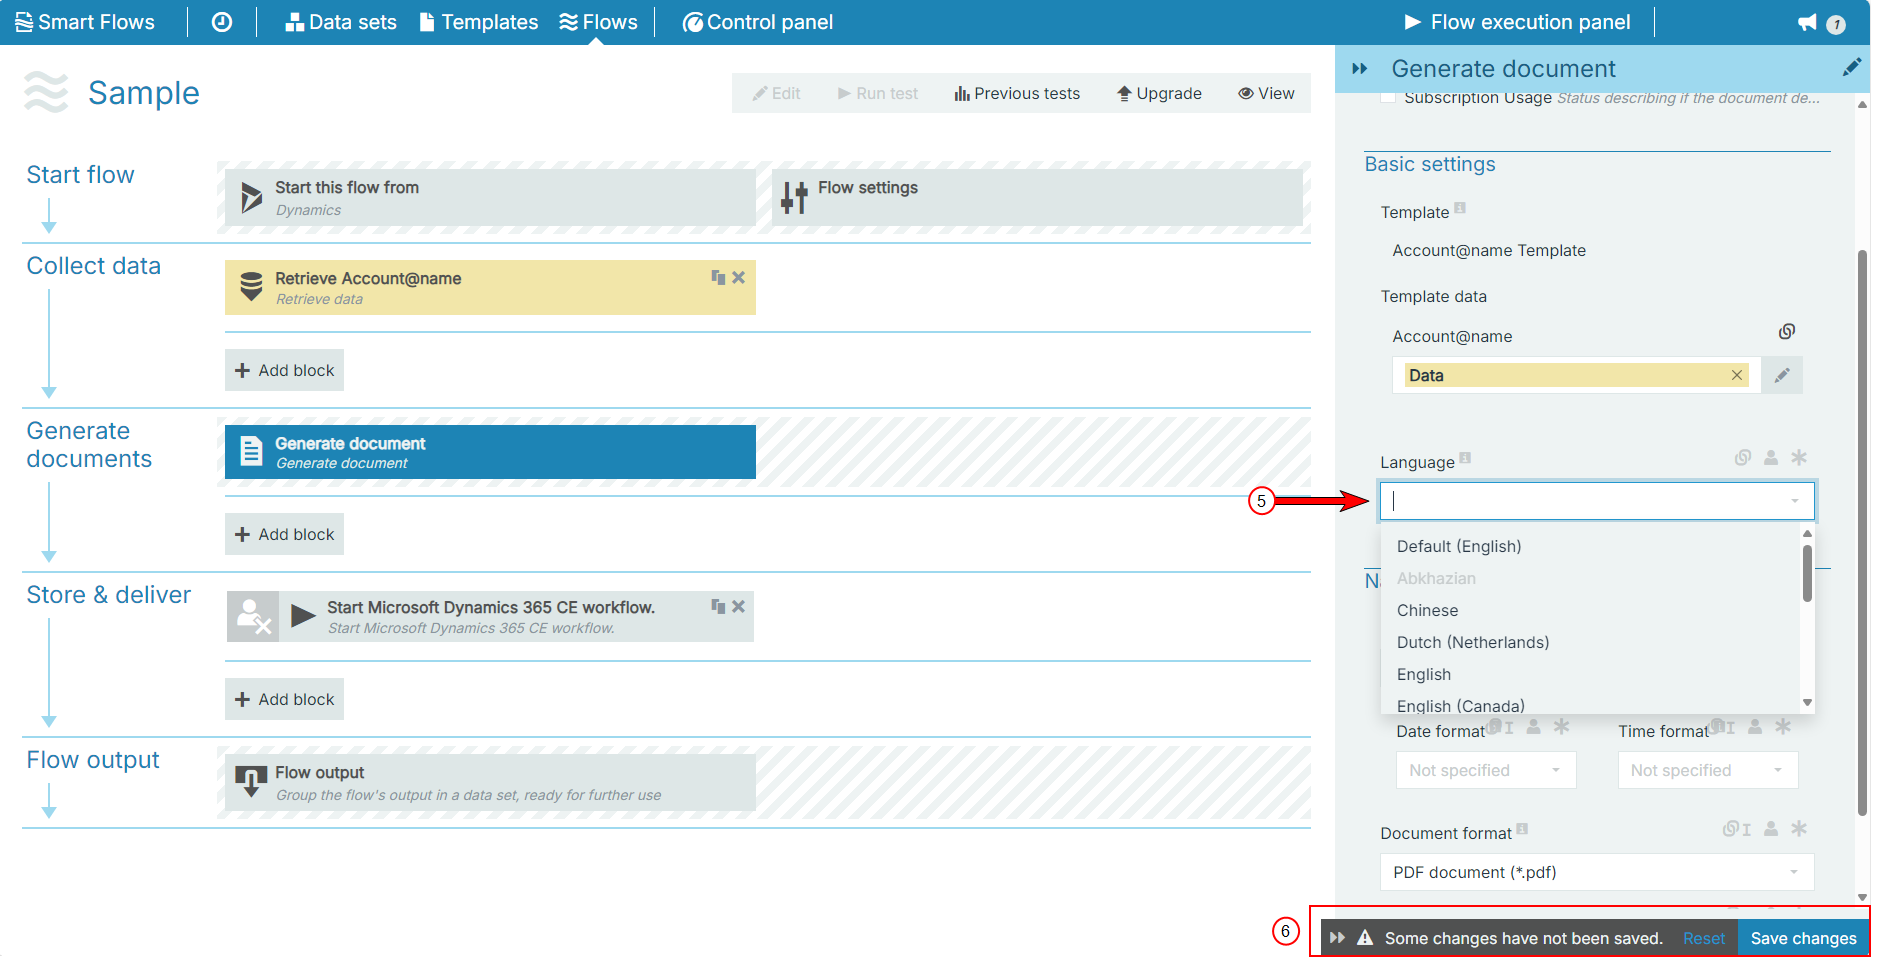
Select a language from the dropdown menu. This lets you manually set a language for this flow block. |
|
6.
|
Select Save changes at the bottom right of your screen. |
User Selectable Setting
|
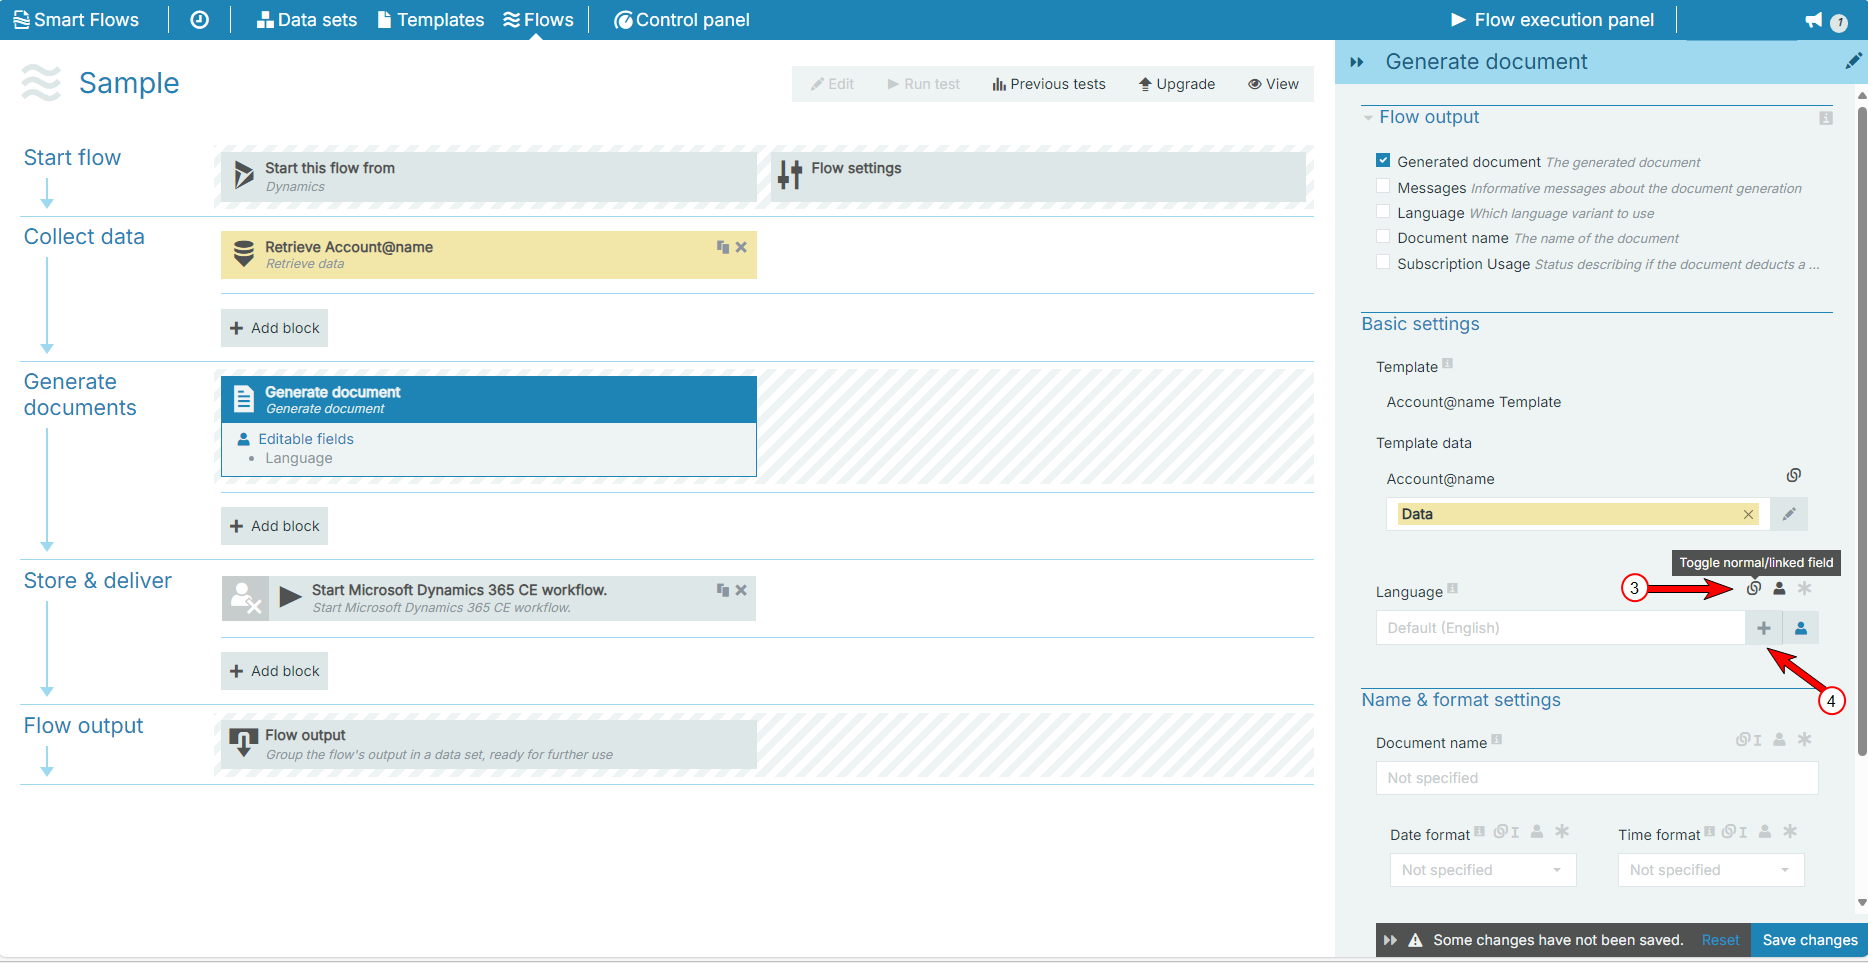
2.
|
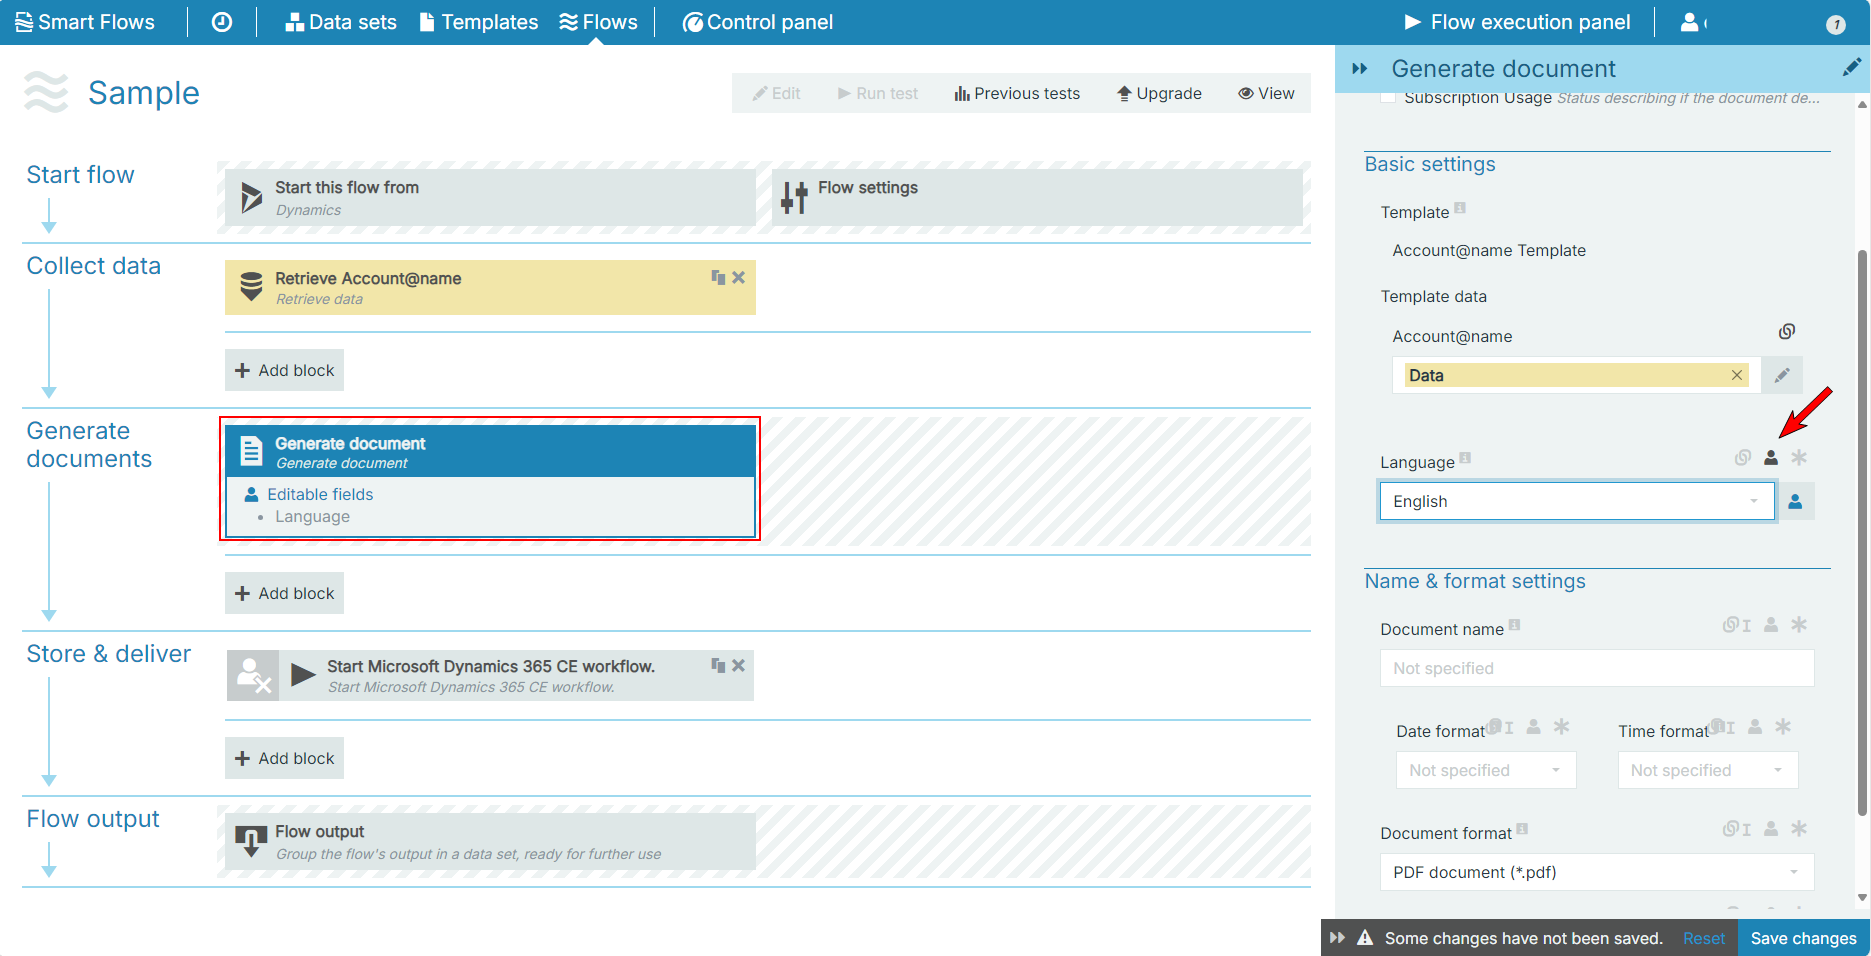
Select the Toggle user editable customization button. This lets the user set a language for this flow block from a list. |
The Language bullet point displays in Editable fields below the Generate document flow block.
|
3.
|
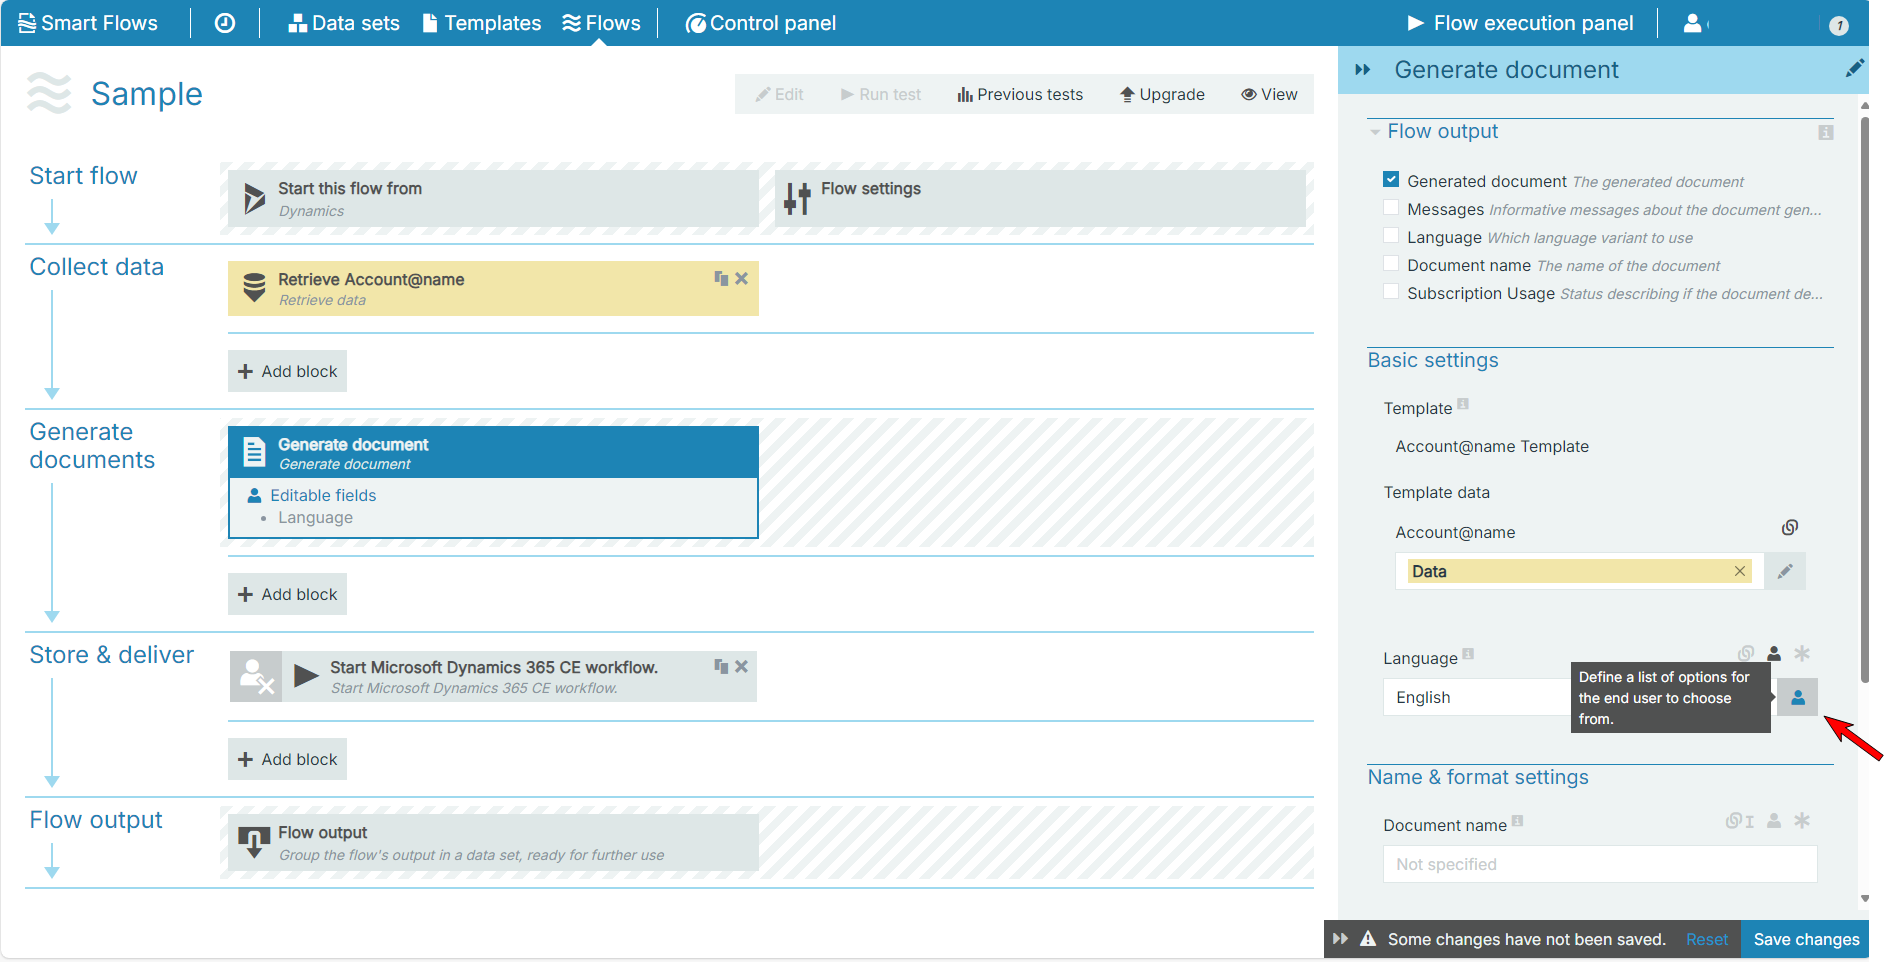
Select the icon next to the language text box. This lets you define a list of options for the user to choose from. |
|
4.
|
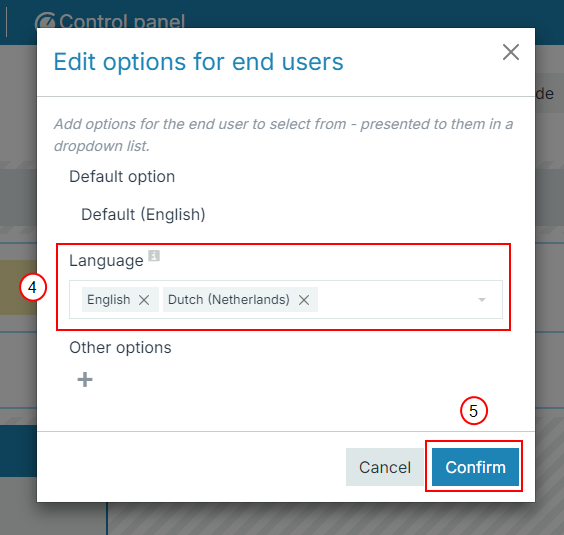
Inside the Edit options for end users dialog, select languages from the Languages dropdown menu. |
|
6.
|
(Optional) Select the Toggle required icon. This makes the language parameter a required field for the user must fill in. |
|
7.
|
Select Save changes at the bottom right of your screen. |
Automatic Setting
The system automatically selects an appropriate language based on a specific linked field added to the language field. You can choose any field for this purpose, define the values corresponding to each language, and link this field to the language field.
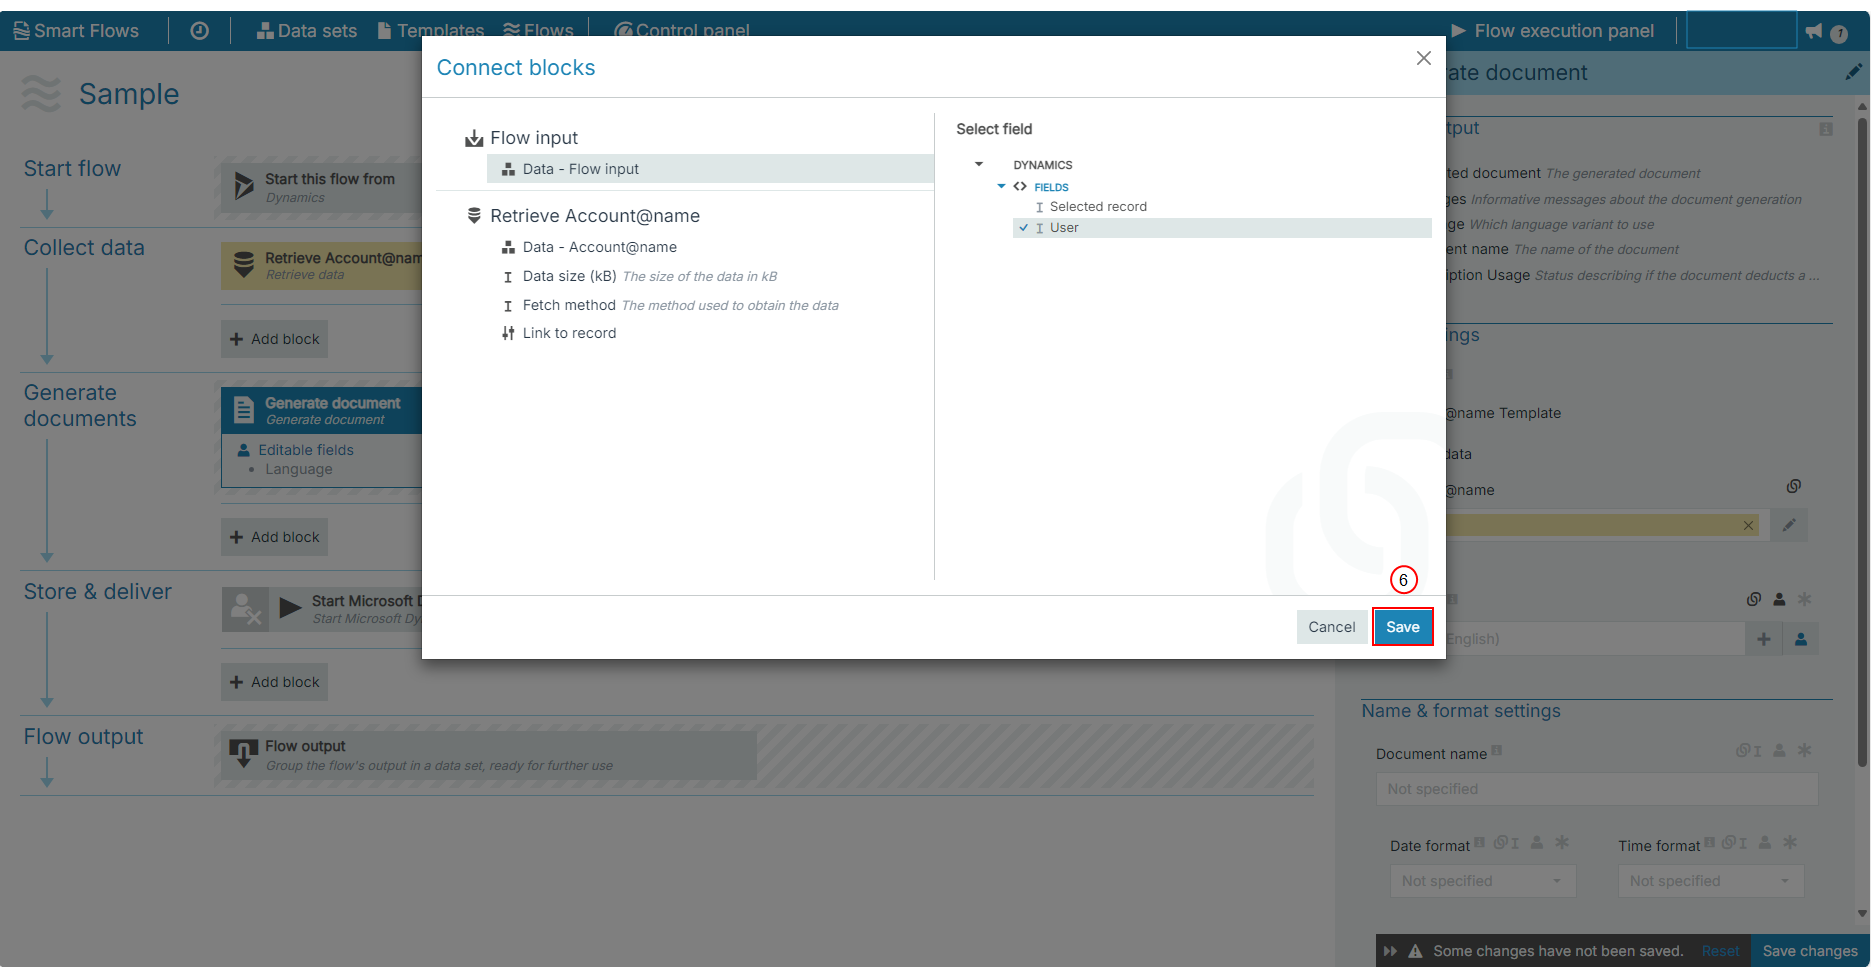
|
2.
|
Select the Toggle user editable customization button. |
|
3.
|
Select the linked field button. |
|
4.
|
Select the plus icon to add a link field variable name to this language field. |
|
5.
|
Select a field that typically has a value, such as a language, language primary alias, or language alias. This will ensure that the language field is automatically updated whenever the linked field value changes, according to the flow of your product or the flow you have set. |
|
7.
|
At the bottom right of your screen, select Save changes. |
See also
Language Variants