Assets
Smart Flows assets are versatile files stored within your project, essential for enhancing your workflows and templates. With no restrictions on file types, these assets serve as the building blocks for your Smart Flows, ensuring that your projects are equipped with all the necessary components.
This guide is designed to provide you with a comprehensive understanding of how to manage, create, and utilize Smart Flows assets effectively. Whether you’re inserting them into templates or attaching them to e-mails, assets are tailored to streamline your processes and maximize efficiency, all while adhering to the 25MB size limit.
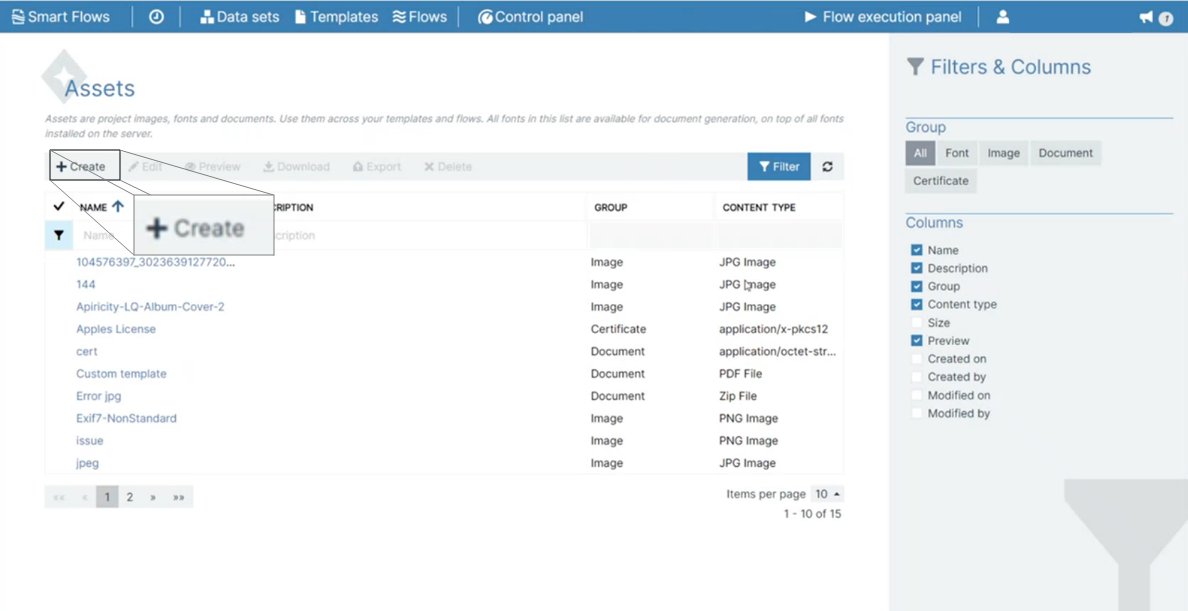
You manage assets using the List view. For more information, see The List View.
Creating Assets
You can create a new asset by following the process below.
| 1. | Select +Create. |
The Create asset dialog box displays.
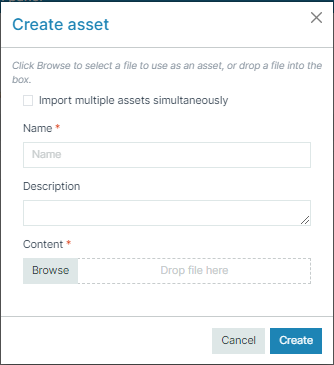
| 2. | In the Create asset dialog box, enter a name for the asset in the Name field. |
| 3. | (Optional) Give the asset a description. |
| 4. | Select Browse, for the file you need to upload. |
You can also drag and drop the file to the Drop file here location.
| 5. | Select Create. |
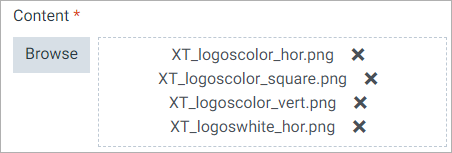
You may also upload multiple assets simultaneously by selecting the Import multiple assets simultaneously checkbox. You do not get to name each file when uploading multiple assets at once.
Previewing and downloading assets
To preview an asset and then download it, follow these steps:
| 1. | (Optional) In the Detail view, select the Preview tab. |
| 2. | From the List view, select Preview. |
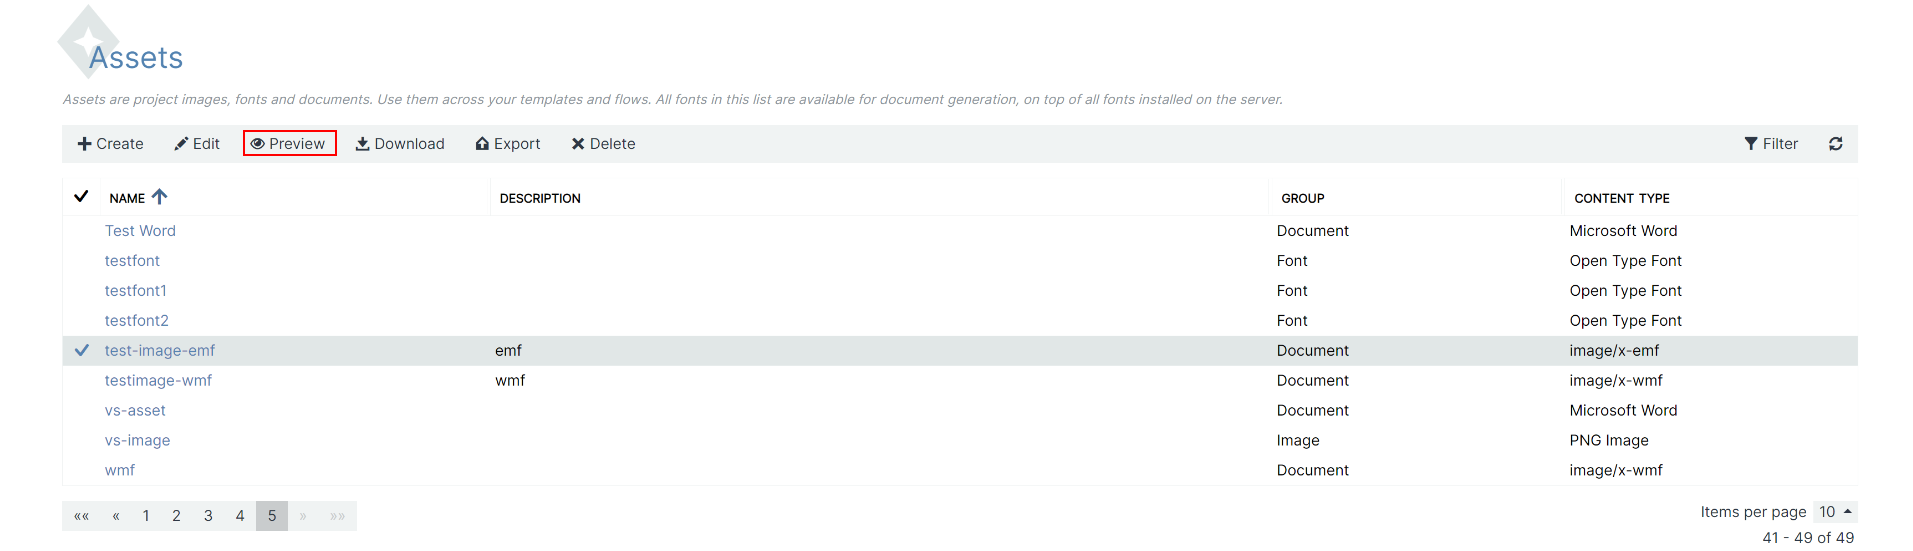
| 3. | To download an asset, select Download. |

Using Assets
There are two ways to use assets: inserted in your templates or attached to an e-mail.
Assets in templates
Assets added to templates via the Experlogix Template Builder add-in for Microsoft Word. Follow the process below to implement image assets in your template.
| 1. | After mapping a field, go into its formatting. Select the Convert to image checkbox from the Convert to image tab. |
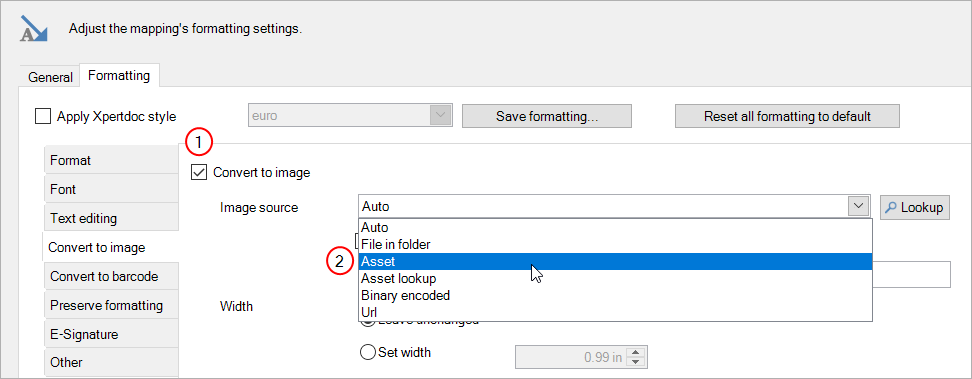
| 2. | Under Image source, select Asset (or Asset lookup). |
Document assets in templates
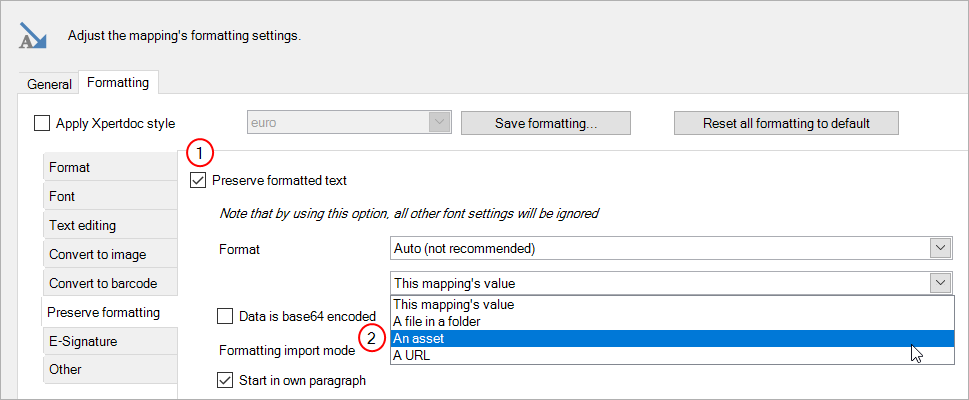
Assets are put in templates via the Experlogix Template Builder add-in for Microsoft Word. See the process below to implement document assets in your template. If you are using documents as an asset, for example, a PDF file or a DOCX file, use the Preserve formatting Option.
| 1. | After mapping a field, go into its formatting. From the Preserve formatting tab, select the Preserve formatted text checkbox. |
| 2. | Under This mapping's value, select An asset. |
How to use assets in the Word add-in is explained in detail here.
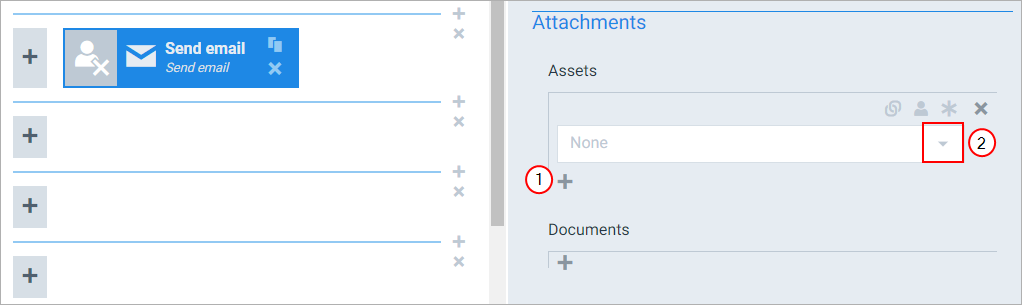
Assets as attachments
Attaching assets to e-mails is done using Flow Builder. Any flow block that can send an e-mail has an Attachments section, under which you'll find Assets. To attach an asset to an e-mail, follow these steps:
| 1. | Select the plus sign (+). |
| 2. | From the dropdown, select an asset. |
The asset is attached to the e-mail.
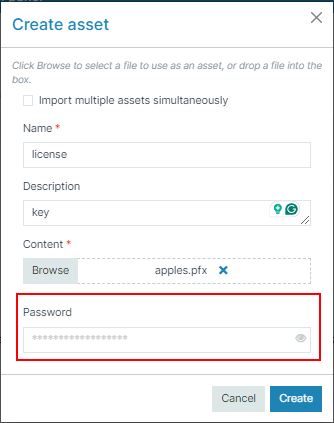
Assets as Certificates
Another asset group is certificates. You can use these certificates to certify a PDF. No changes can be made to the certified PDF. The system knows when a certificate file is uploaded and prompts for a password.