Using the API
The API allows you to call Smart Flows' functions from an external program.
You need Smart Flows Connect or an other version of Smart Flows with the appropriate license in order to use to API.
For a developer, using the Smart Flows API is like using any other REST API - and there's enough literature about that on the internet. In particular, for Smart Flows, you'll need to authenticate before you can use the API.
API keys
Authentication is done through API keys. Every call you do requires a valid API key, which can be assigned to a user in the Project Console:
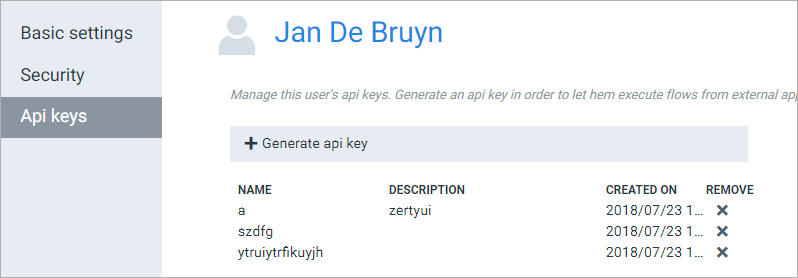
You can generate API keys and remove them on the user screen. A key is only shown once so take care to store it safely. You can remove a current key by clicking the remove cross - once a key has been removed, all calls using that key will be invalid.
Using a user's API key is like using the user to do something - you're borrowing that user's rights. So you won't be able to do everything with every key - a key that's assigned to an administrator can be used for actions that a user is prohibited from doing, such as adding a printer.
This approach has several benefits:
- You can decide which keys, with which rights, are used for which calls.
- You could then shut down only a part of the API calls, by removing the right API key from the user in the Project Console.
- You could hand out unique keys to third parties so that you always know every call they do, since they only have one key to use.
Using API keys in calls
To authenticate properly, use the API key as follows: every HTTP call needs to contain the header X-API-KEY with your API key as the value.
List of possible API calls
You can find a list of all the possible API calls by going to this url: <baseurl>/swagger-ui/ where <baseurl> is the base URL of your project, such as smartflowsexampleproject.xpertdoc.eu. You'll see this screen:
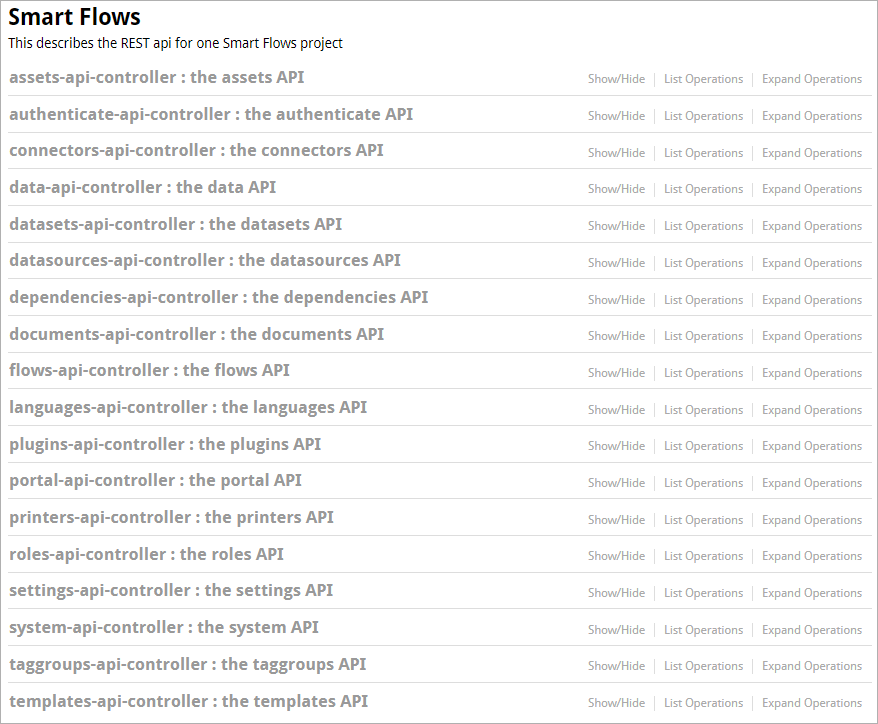
Click a section to expand it:
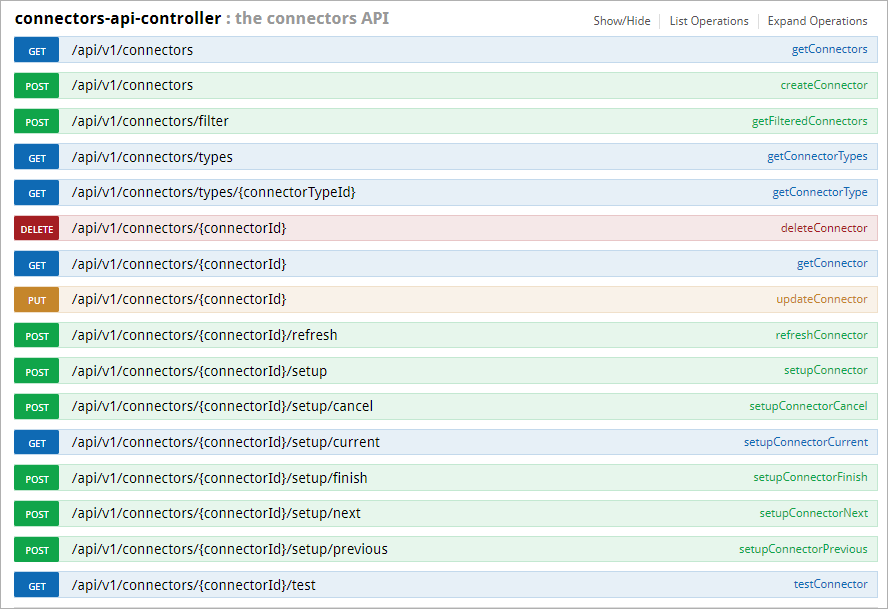
Click a service to expand it:
Example: run a flow, wait for completion, get flow output
Let's give a typical example to illustrate the process. We'll run a flow, wait for it to complete, then retrieve the flow's output.
Run a flow
There are a 3 ways to start a flow. This is defined in the "Start this flow from"-block in the flow builder
- Start a flow without input data, pick "The Flow Execution Panel".
- Start a flow using a plugin specific input dataset (Dynamics & Sugar), pick Dynamics or ...
- Start a flow with input according to an xsd schema dataset, pick "Another program" and your schema data set
Running a flow is creating a flow execution. Here's the request:
POST https://{host}:{port}/api/v1/flows/executions?flowId={flowId}
Note: the flowId is optional, when omitted, the user will need to specify a flow as a first step which's primary data set corresponds to the input data.
Headers:
- Name = Content-Type / Value = application/json; charset="utf-8"
- Name = X-API-Key / a valid API key
Body:
- No data
-
Your data in JSON format, according to the following structure
{
"id":["XXXXXXX-XXXX-XXXX-XXXX-XXXXXXXXXXXX"],
"entity":"account",
"userId":"XXXXXXXX-XXXX-XXXX-XXXX-XXXXXXXXXXXX",
"organizationUniqueName":"organizationName"}
id: The id's of the records from which the flow can be started
entity: The name of the entity
userId: The id of the user in Dynamics who executes the flow
organizationUniqueName: The unique name of the organization defined by Dynamics
Response:
{
  "id":"6de9206a-de42-4182-8f86-a9a8d29fbd56",
  "percentage":0,
  "message":"Generate document",
  "status":"Running"}
We'll use this ID in the next call.
- Your data in XML format, according to the structure defined by the flow's primary schema data set.
Wait for completion
Once a flow is running, we need to wait until it's done before we can do something with the output. So, we need to know its progress. Use the ID from the previous call in this call:
GET https://{host}:{port}/api/v1/flows/executions/{executionId}/progress
Headers:
- Name = X-API-Key / a valid API key
Response:
{
    "id": "85f8fe94-6f61-4216-af6c-4889e2547b72",
    "percentage": 30,
    "message": "Generating Document",
    "status": "Running",
    "schema": {
        ...
    },
    "model": {
        ...
    },
    "form": [
        ...
    ]
}
Once the flow returns a stable status (like success or error - a status that won't change anymore), you can get its output.
Get flow output
To get a stable flow execution's output, use the below code with the ID from the previous call:
GET https://{host}:{port}/api/v1/flows/executions/{executionId}
Headers:
- Name = X-API-Key / a valid API key
Response:
{
    "id": "executionid",
    "createdAt": ... ,
    "createdBy": ... ,
    "modifiedAt": ... ,
    "modifiedBy": ... ,
    "status": "Success",
    "flow": {
        "id": "someguid",
        "displayName": "The displayName",
        "type": "flow"    },
    "state": {
        "inputData": { ... },
        "output": { ... },
        "stages": [ ... ],
        "report": [ ... ]
            }
    }
}
The 4 elements under state:
- inputData: the input data that was sent in the first API call.
- output: xd-schema-form representation of the flow output, used the flow execution panel.
- stages: a stage is created for a flow execution when it resumes after waiting for user input, or for an external event. This lists all the stages.
- report: information about all flow steps that were executed in the flow.
Retrieve document
To retrieve the document from the server, use the below code with the document ID from the Flow Output call:
GET https://{host}:{port}/api/v1/documents/{documentId}/content
Alternatively, use an Output & Delivery step in your Flow to store, print and / or deliver your document.
Further reading
You can find the public Git repository for Smart Flows here: https://github.com/Invenso/smart-flows-clients