Creating an Xpertdoc Portal Connector
When creating an Xpertdoc Portal connector, the Create connector wizard guides you through the configuration. You can add multiple Portal-type connectors; however, you must make one of your Portal Connectors the Default Portal connector.
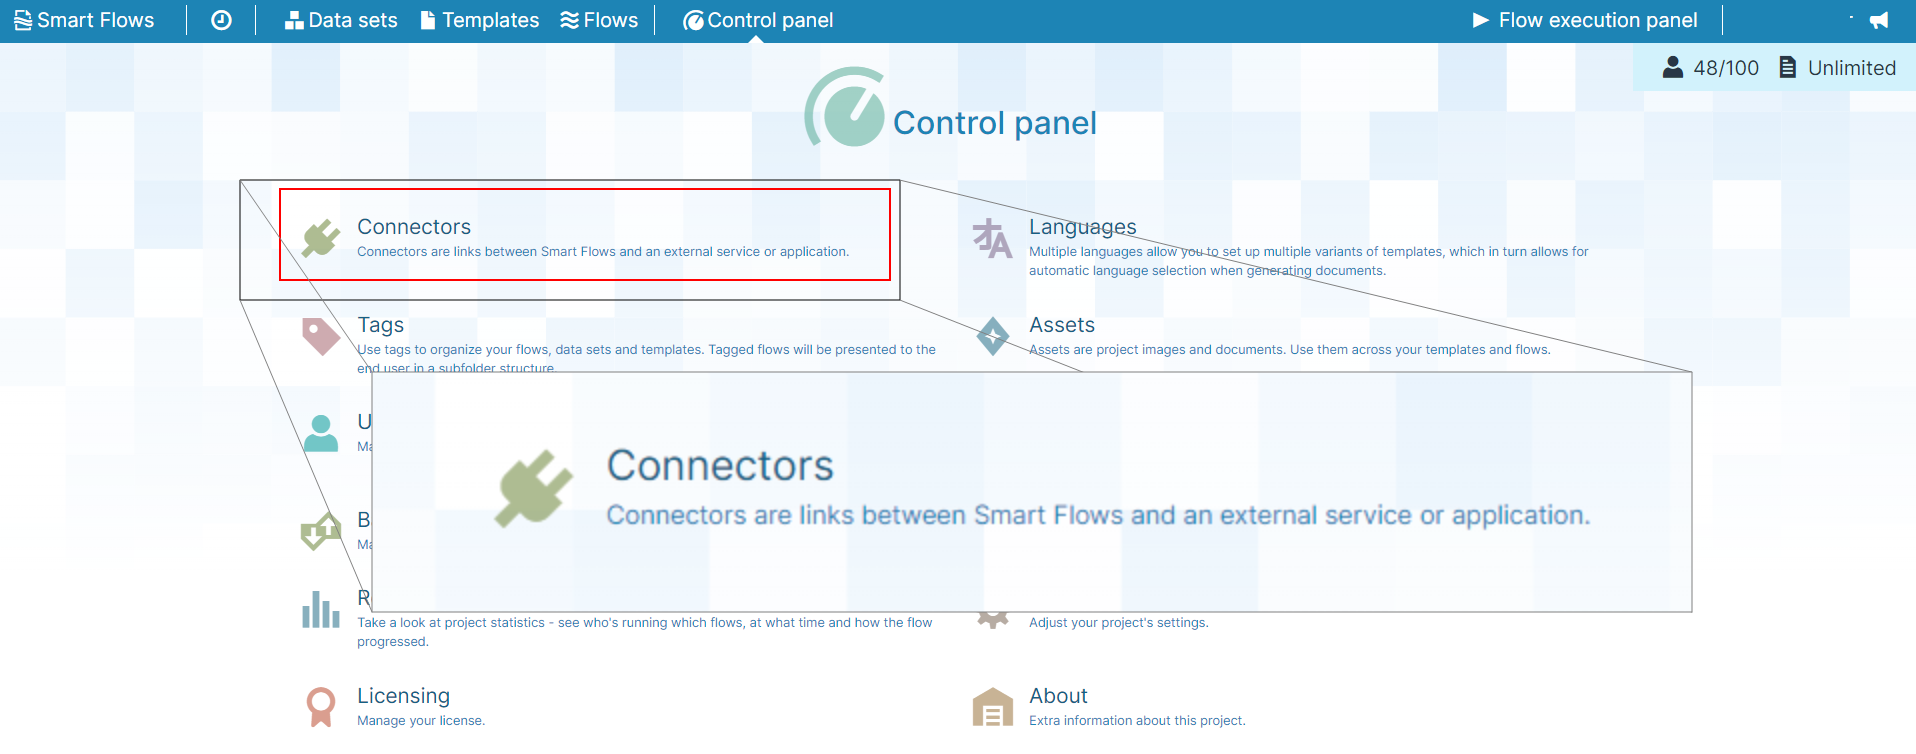
Create Xpertdoc Portal connector in Project Console
| 1. | In the Project Console's Control panel, click the Connectors button. |
The Connectors List view displays.
| 2. | Click the +Create button. |
The Create connector wizard displays.

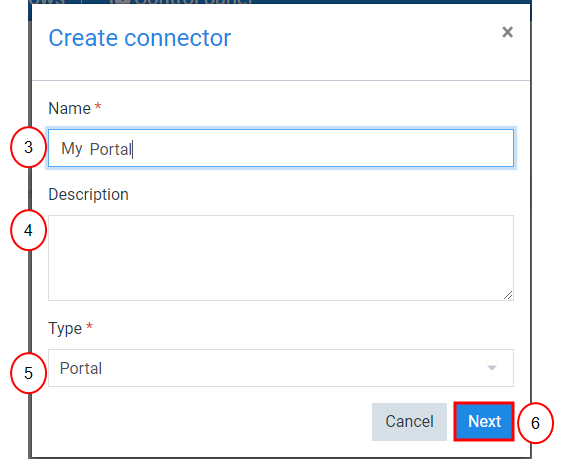
| 3. | In the Name field, input the name for your Portal connector. |
| 4. | (Optional)In the Description field, input a description for your Portal connector. |
| 5. | In the type dropdown menu, select Portal. |
| 6. | Select the Next button. |
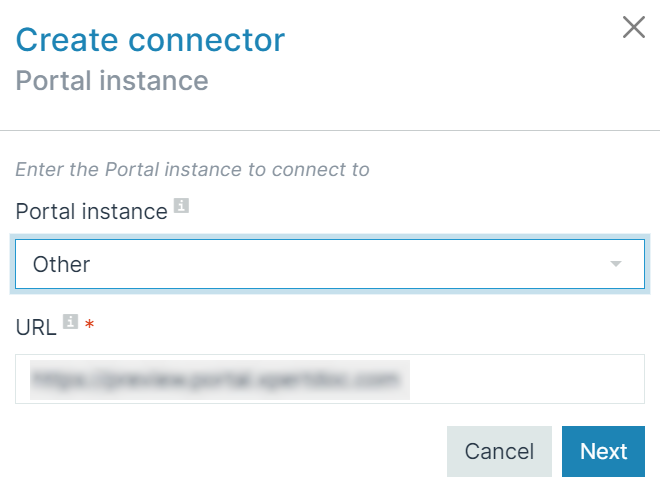
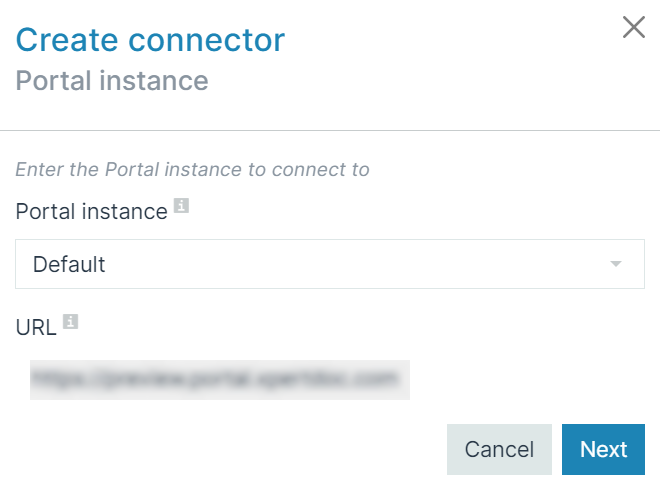
The Create connector Portal instance window displays.
To configure a non-default Portal connector, select Other in the Portal instance dropdown menu.
| 7. | In the Portal instance dropdown menu, select Default. |
By default, the system uses the Portal instances hosted in the US. If you don't know the URL, please get in touch with your administrator or Experlogix support.
| 8. | In the URL, enter the URL for your default portal instance. |
| 9. | Select the Next button. |
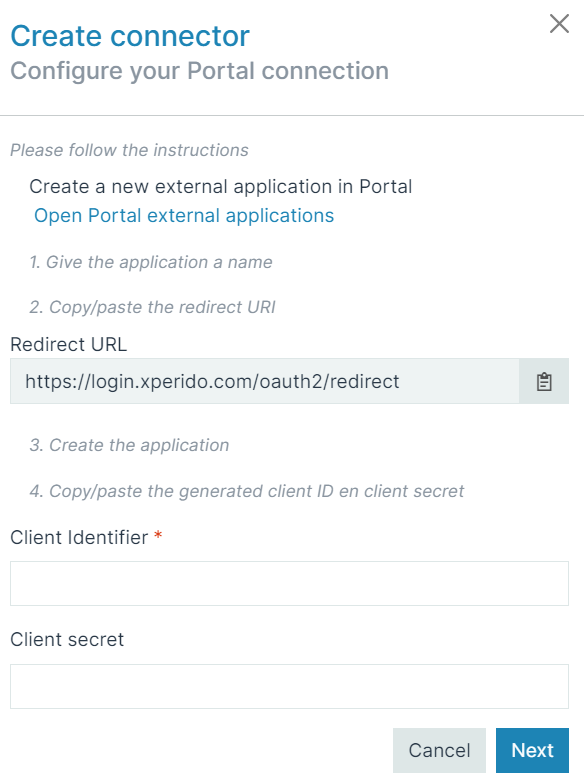
The Create connector Configure your Portal connection window displays.
| 10. | Select the Open Portal external applications button. |
Your Portal instance opens in a new window.
Collect your Portal External Application Data
If you have never logged into the Portal instance, you can use the Want to Register button to create a login.
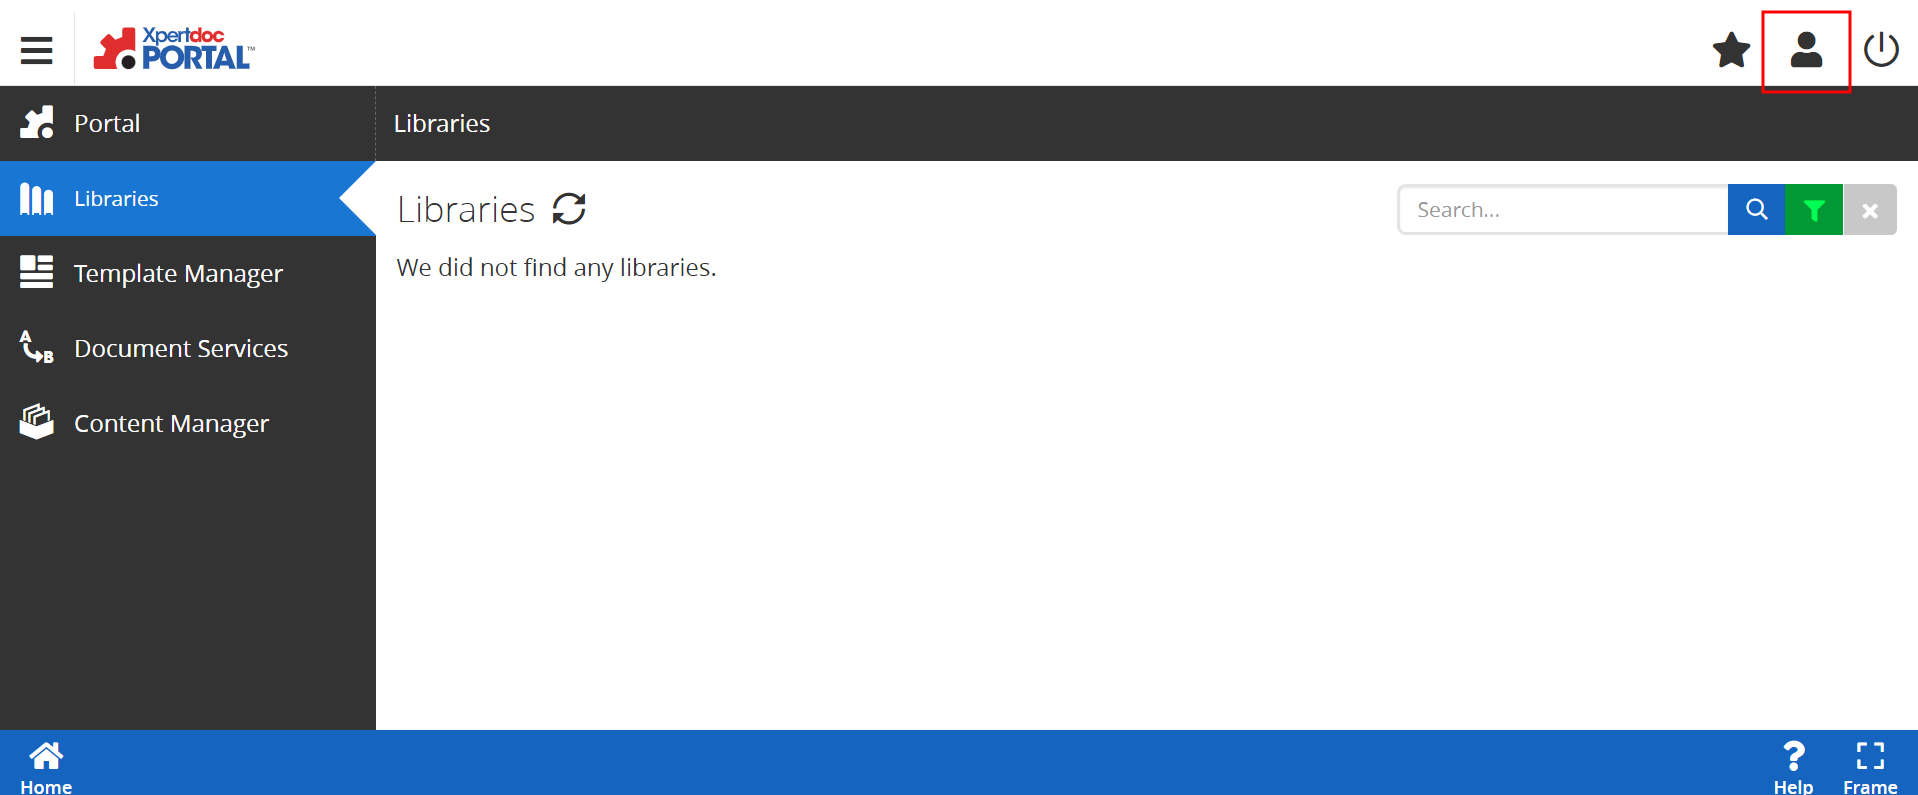
| 1. | Log in to your Portal instance. |
The Libraries page displays.

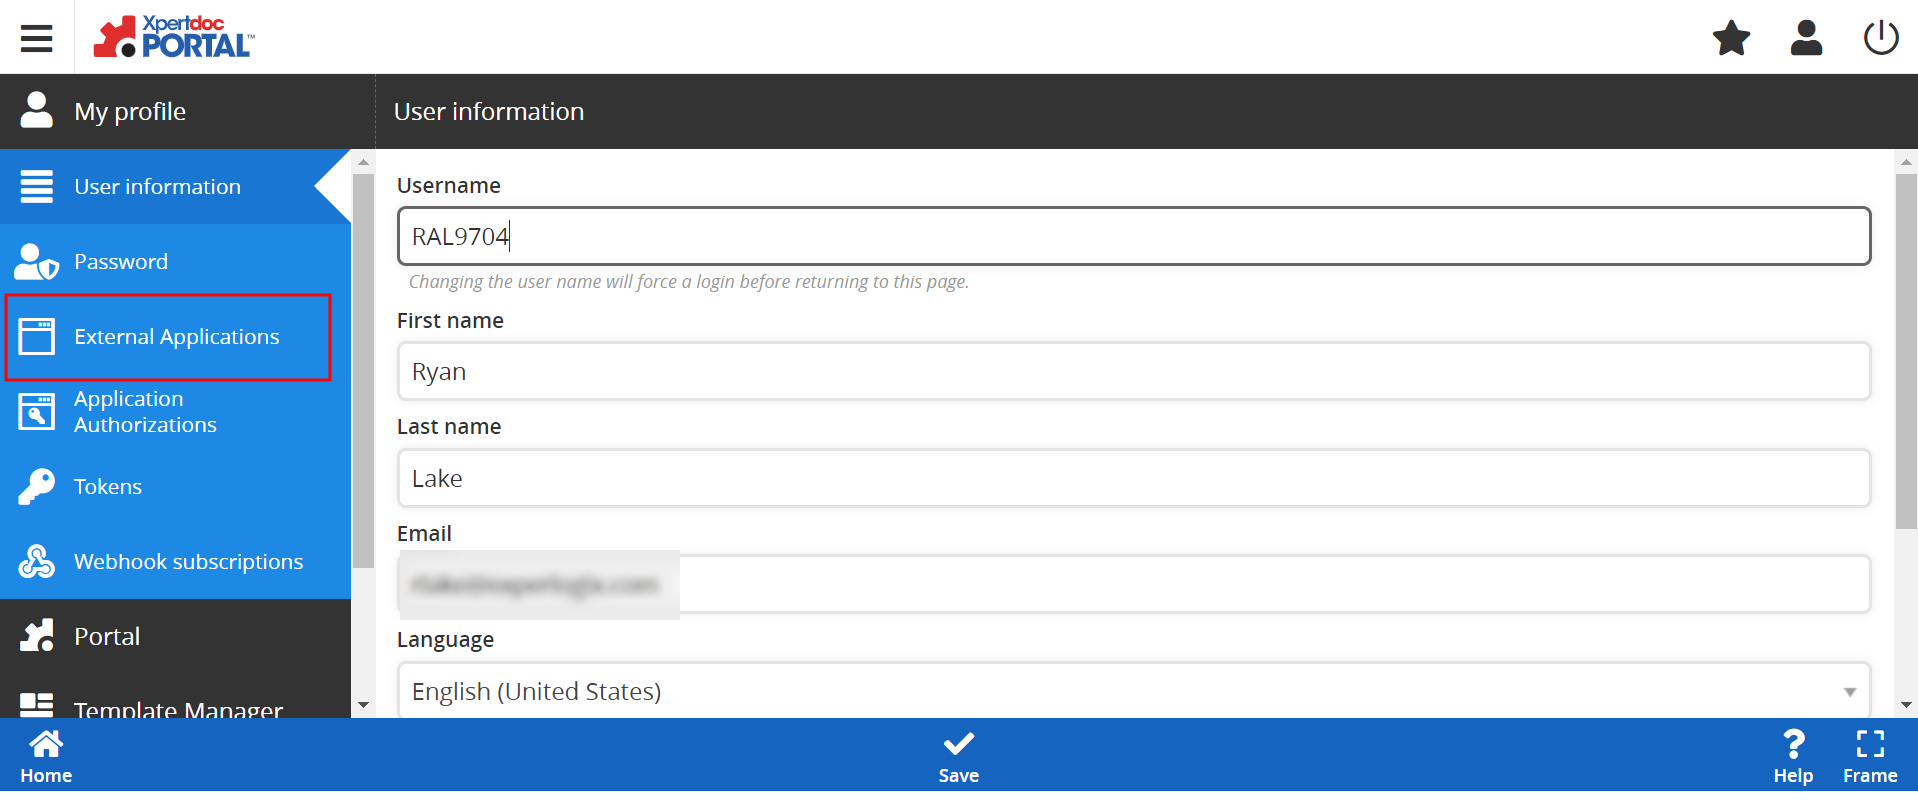
| 2. | In the top right, select the user silhouette. |
The My Profile side navigation displays.
| 3. | Select the External Applications button. |
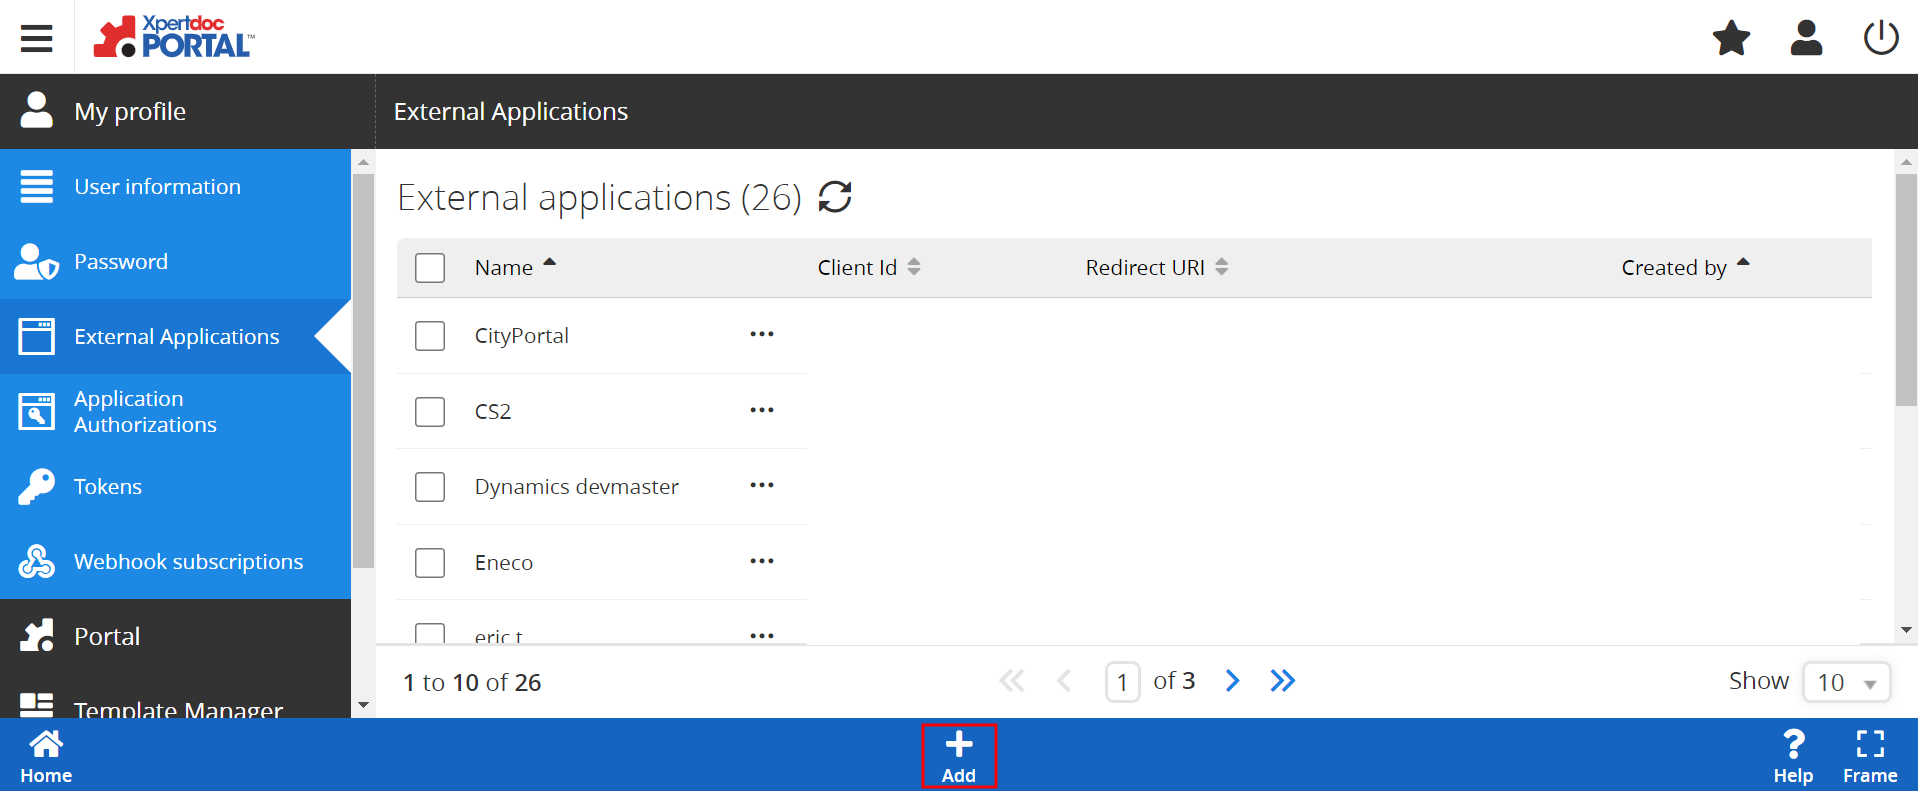
The External Applications page displays.
| 4. | Collect your External Application information. |
| 4.1. | If you have an existing Portal External Application you wish to use, continue to Step 8. |
| 4.2. | If you do not have an existing Portal External Application, skip to Step 5. |
| 5. | In the External Applications List view, select the +Add button. |
The New external application page displays.
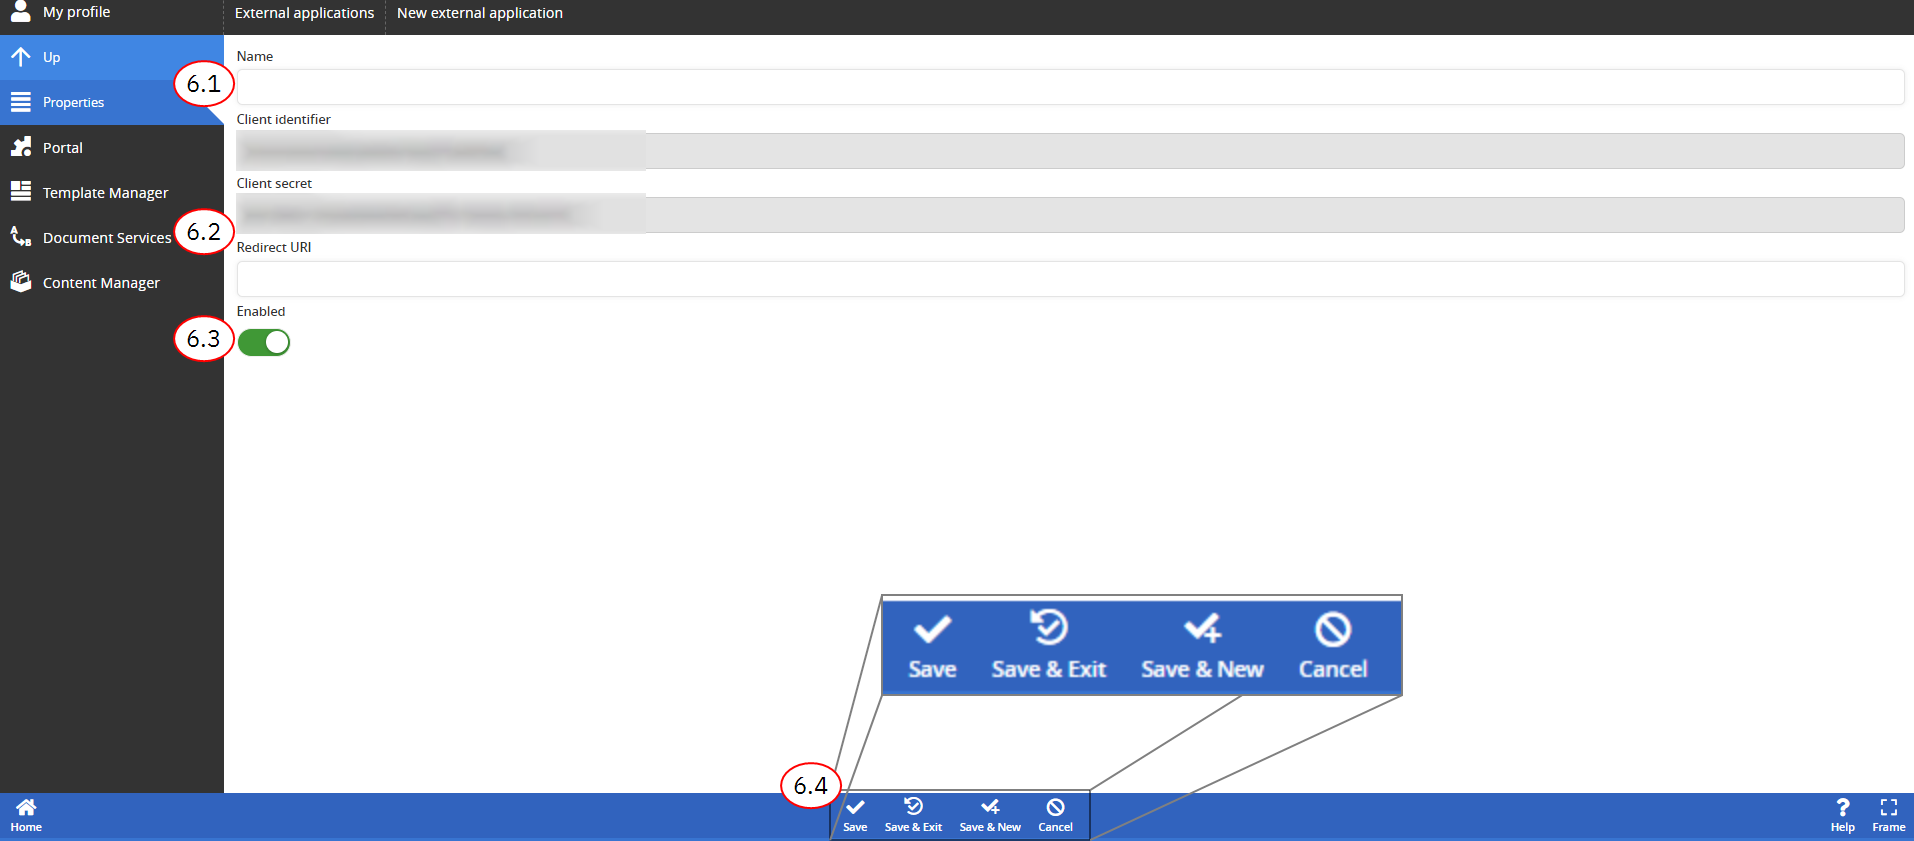
| 6. | Configure your new external application. |
The system automatically creates your Client identifier and Client secret when you add a new external application.
| 6.1. | In the Name field, input a name for your new external application. |
| 6.2. | In the Redirect URI, input your Redirect URI. |
| 6.3. | Ensure Enabled is toggled to the right and displays green. |
| 6.4. | Select the Save button. |
You can copy and paste your Client identifier and Client secret into Notepad or a similar program.
| 7. | Note the Client identifier, Client secret , and Redirect URI for your External Application. Continue to Step 1. |
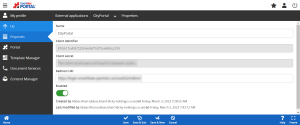
| 8. | In the External Applications List view, select the Portal instance you wish to use for your connector. |
The External Application Editor displays.
You can copy and paste your Client identifier and Client secret into Notepad or a similar program.
| 9. | Note the Client identifier, Client secret , and Redirect URI for your External Application. Continue to Step 1. |
Finish Xpertdoc Portal Connector Creation in Project Console
| 1. | In Smart Flows, enter the information from your Portal’s External Application |
| 1.1. | In the Redirect URL field, enter the Redirect URL from your External Application. |
| 1.2. | In the Client Identifier field, enter your Client Identifier for your External Application. |
| 1.3. | In the Client secret field, enter the Client secret value for your External Application. |
| 2. | Select the Next button. |
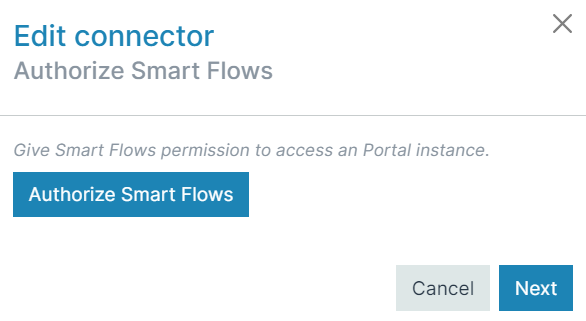
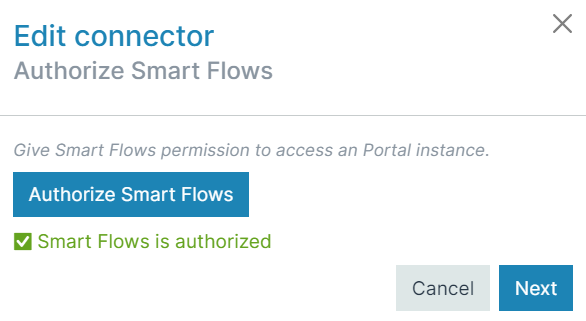
| 3. | Select the Authorize Smart Flows button. |
The Portal Authorization window displays.
| 4. | Select the Grant button to authorize the connection between Smart Flows and Xpertdoc Portal. |
The system redirects you to Smart Flows
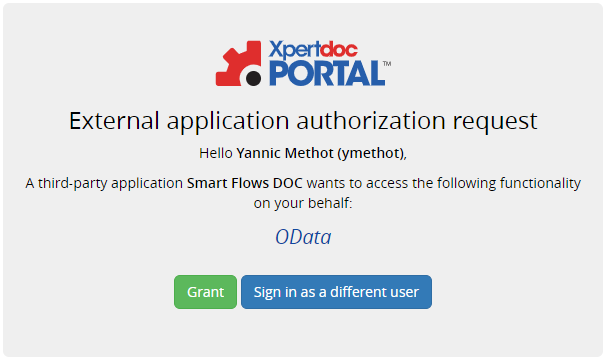
Under the Authorize Smart Flows button, Smart Flows is authorized and displays in green.
| 5. | Select the Next button. |
The Create connector Connected window displays.
| 6. | Select the Finish button. |
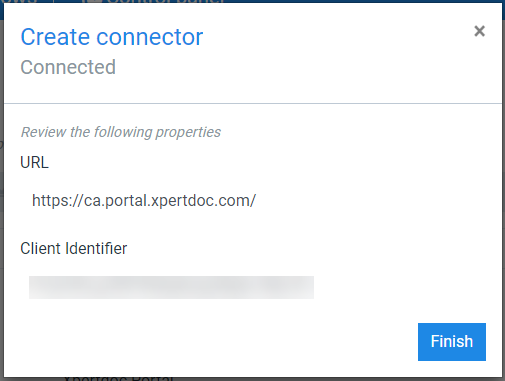
Congratulations, you have successfully created an Xpertdoc Portal connector. To see everything you can do with Experlogix Portal, refer to the Xpertdoc Portal Knowledge Hub.