Working with Boxes
When using the Template Builder, you will sooner or later encounter boxes:
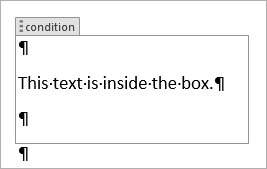
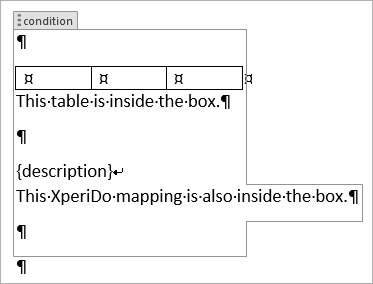
Boxes can contain everything you can insert in Microsoft Word:
A box is a zone which contains something Smart Flows-related. They are an integral part of the Smart Flows template builder, so it's good to know how to use them.
Creating a box
Creating a box happens automatically when inserting a Smart Flows element.
When mapping a field, a box is inserted for you. When inserting a condition, group or loop, you'll first need to select the area of the box:
| 1. | Select the area around which you want to create a box: |
| 2. | Select the Condition, Loop or Group button. |
The box is now in place:
Showing a box
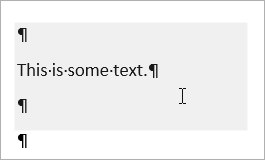
Hover over a box to show its area in gray:
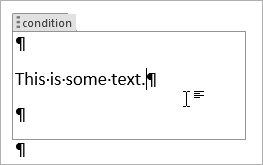
Clicking inside the area shows the box outline:
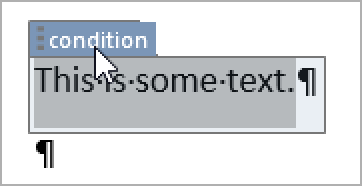
Selecting a box
To select a box, select its name tag in the upper left:
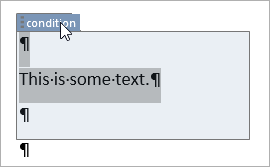
This selects the box and all of its content. Now you can press Ctrl+C to copy, after which you can place your cursor elsewhere and press Ctrl+V to paste a copy of the box and its content.
Moving a box
You can move a box by clicking its tag, dragging it and putting it where you want it to be:
If you hold Ctrl while doing this, you copy the box and its content instead of moving it.
Deleting a box
To delete a box, select the box by clicking its name tag...
...and hit Delete:
This also deletes all its content.
Nesting boxes
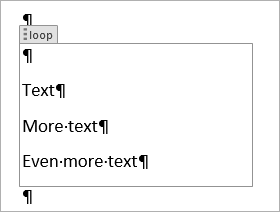
Often times, you'll want to use loops within groups, condition within loops etc. which results in nested boxes like this:
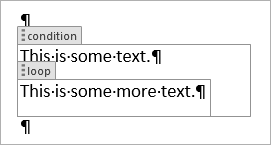
Nesting boxes works fine, but it can be bit tricky to get everything positioned the way you want it. We always advise you to keep a line of whitespace between your boxes when creating them:
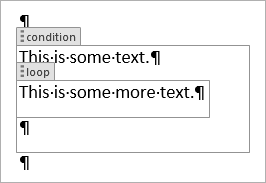
This helps with keeping everything structured, as well as making it easier to insert new content in the correct box. You can remove the space later - it is much easier to remove whitespace than to add it in between boxes.
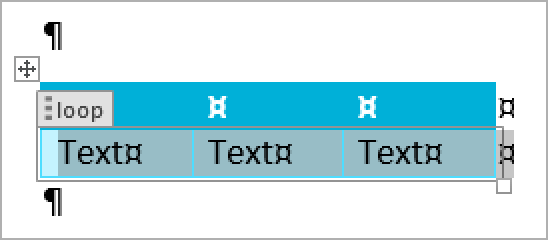
Creating a box over a table row
It is perfectly possible to insert a box over a table row:
This is often done to give each recurring element its own row, or to make an entire row conditional.
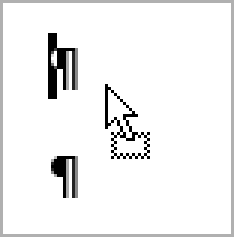
Creating a box over a table row is done by selecting the row and clicking Condition, Loop or Group. When selecting the row, it is important that you select the entire row - you can be sure of this by clicking to the left of the row, at the position where the mouse pointer changes:
Nesting boxes in table rows
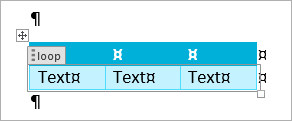
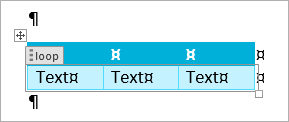
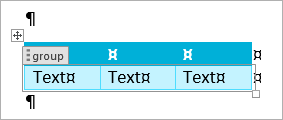
It is possible to have multiple boxes over the same table row. In the following example, there is a loop over the second row of the table:
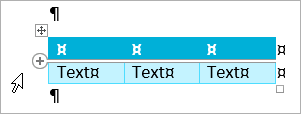
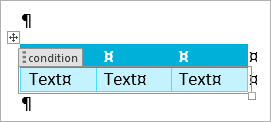
If we now want to insert a condition box on the second row, around the loop, we select the row and select Condition:
If we look in the mapping tab, we see a condition around the loop:
Selecting a row where a box is already present and adding a second box results in the second box being placed around the already present box. This is what happened above, where a condition box was placed around an already existing loop box.
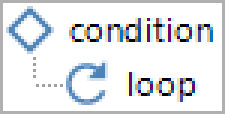
When working with multiple boxes over the same table row, it is important that you start inside out. Let's say you want a loop in a group in a condition, like this:
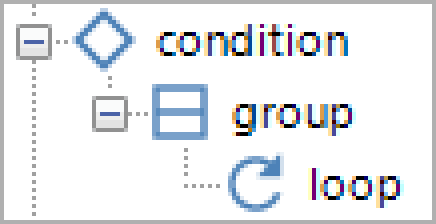
Achieving this is done by first inserting the loop:
Then, select the row again and insert the group:
Finally, select the row once again and insert the condition:
Doing that in this order ensures that your boxes are in the correct order as well.