Testing a Flow
When done creating or updating a flow, testing it is the first thing to do. This option is available directly from the Flow Builder.
Running a Test in the Flow Builder
Running a test in the Flow Builder is a simple method.
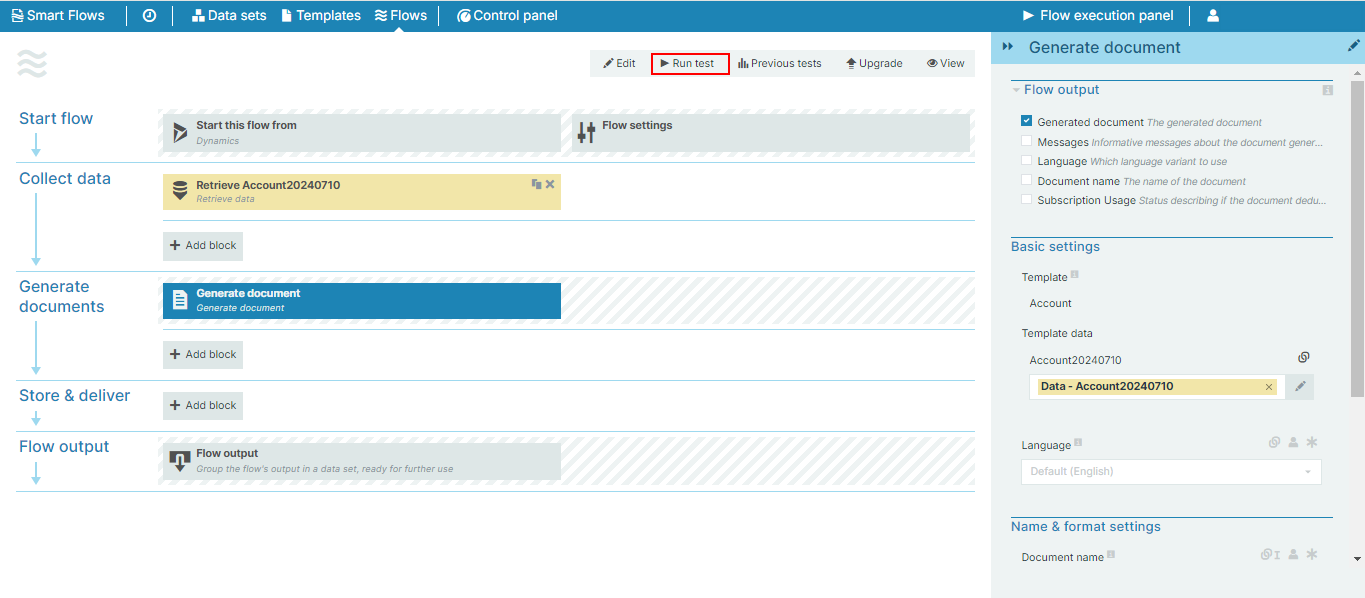
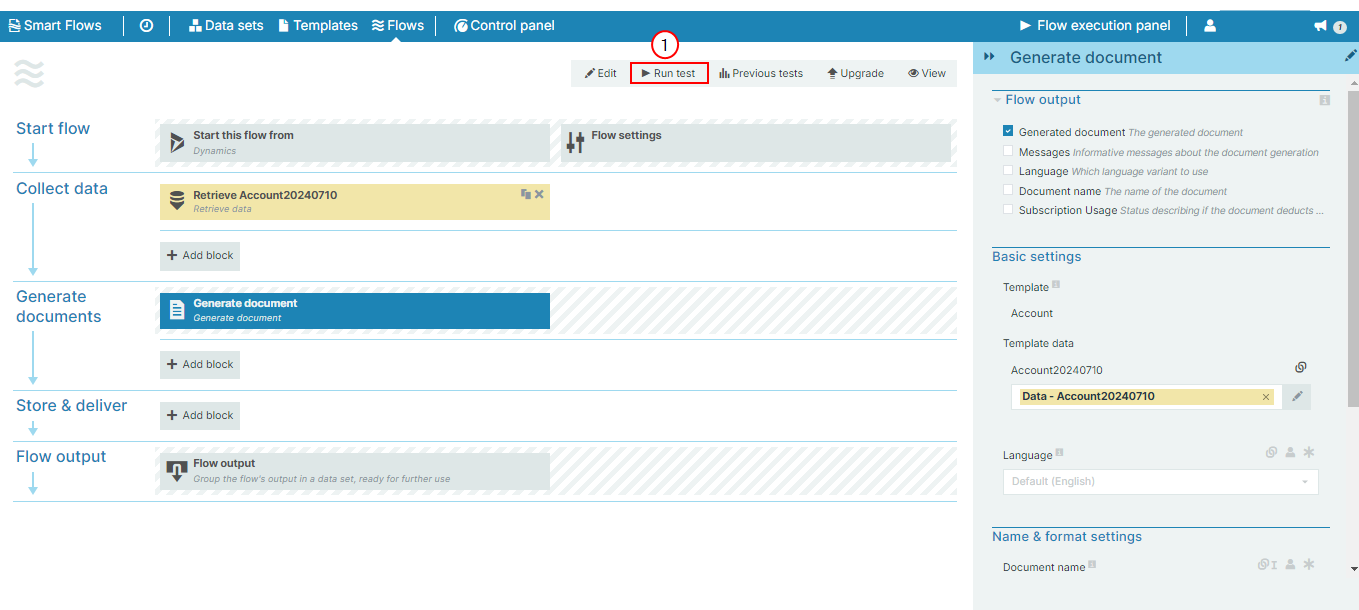
| 1. | Select the Run test button. |
The Flow test execution dialog displays.
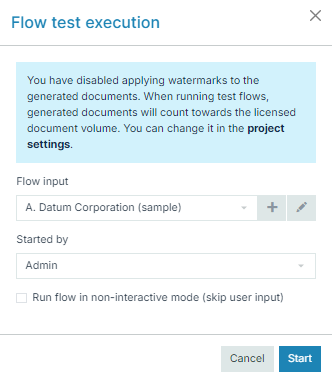
Now we can run test on the flow using different types of sample data, see Selecting Sample Data.
Selecting Sample Data
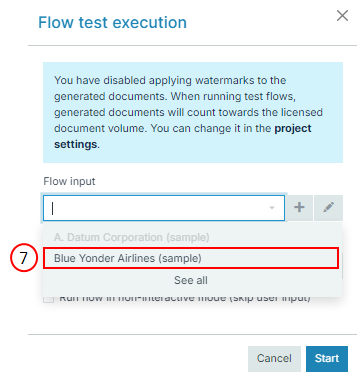
If the flow is configured with a data set of type Standard or Schema, you need to select a sample from the Flow input drop-down. If the drop-down is empty, select the plus sign and create a sample.
Create a New Sample on a Standard or Schema Data Set
That option is available directly from Flow Builder. By clicking on the Run test, a dialog is displays, asking for information. The type of information it asks for is sample data. Instead of switching over to Data Set Builder to create samples, you can add samples to your data set when testing flows in Flow Builder.
| 1. | From the Flow Builder, select Run test. |
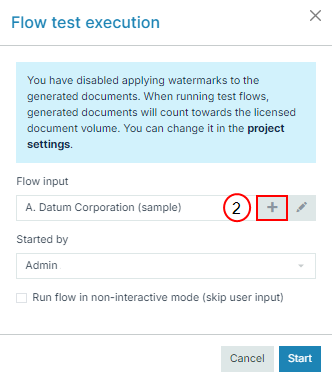
| 2. | Select the plus sign (+) next to the Flow input field. |
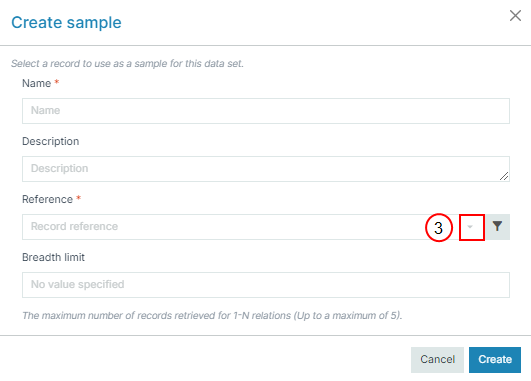
| 3. | In the Create sample dialog, select the dropdown menu in the Reference field. |
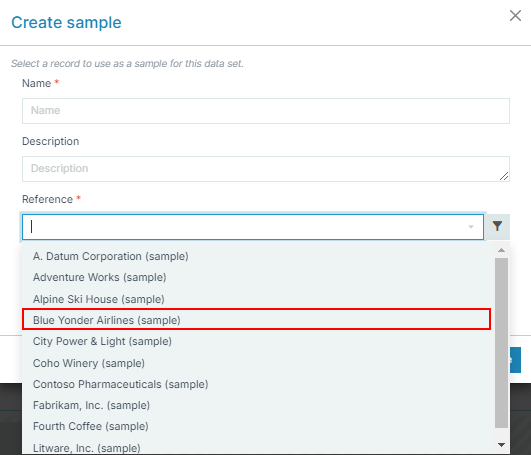
| 4. | From the list of account records, select a sample. |
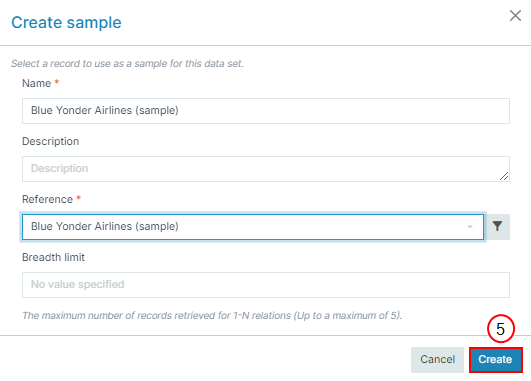
| 5. | Select Create. |
| 6. | From the Flow test execution dialog, select the dropdown menu in the Flow input field. |
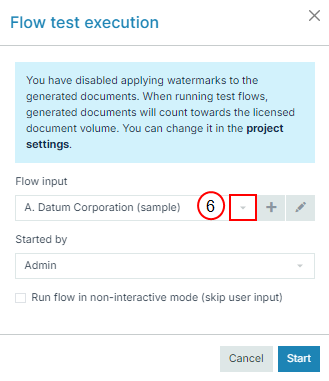
| 7. | Select the sample from your previous step. |
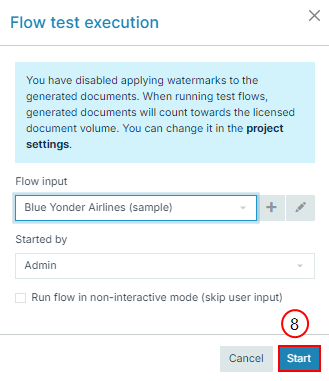
| 8. | To test your flow with this sample, select Start. |
Create a New Sample on a Custom or Smart Form
If the flow is configured with another type of data set (that is, custom or Smart Form data set), then no information is required for the Flow input field.
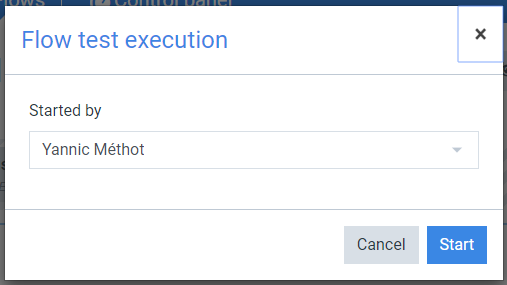
| 1. | The Started by field selects a user from whom the flow is started. |
By default, the user you are connected with is selected. Selecting another user can help simulate the behavior of a flow executed with the user having fewer privileges.
| 2. | Selecting Start. |
The Flow test execution dialog is displayed.
Reviewing Flow Execution
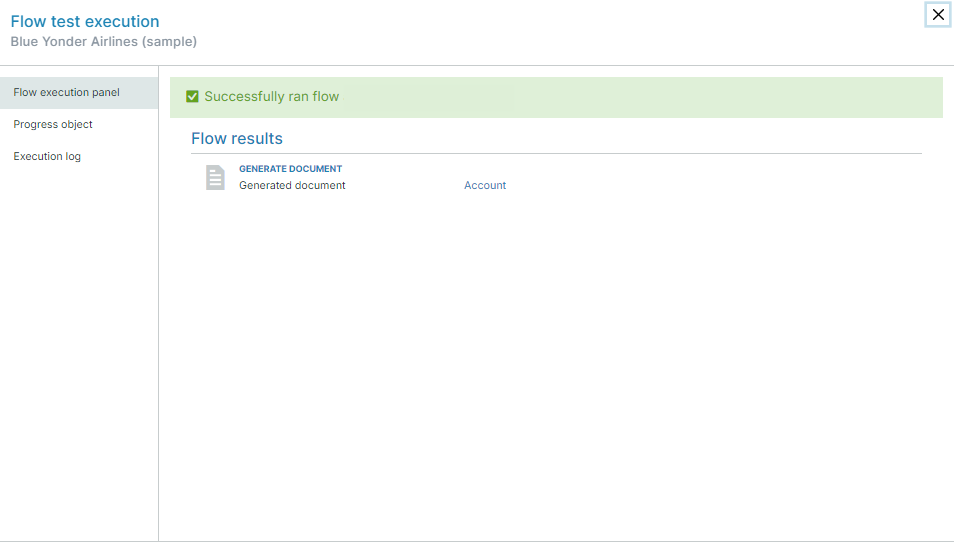
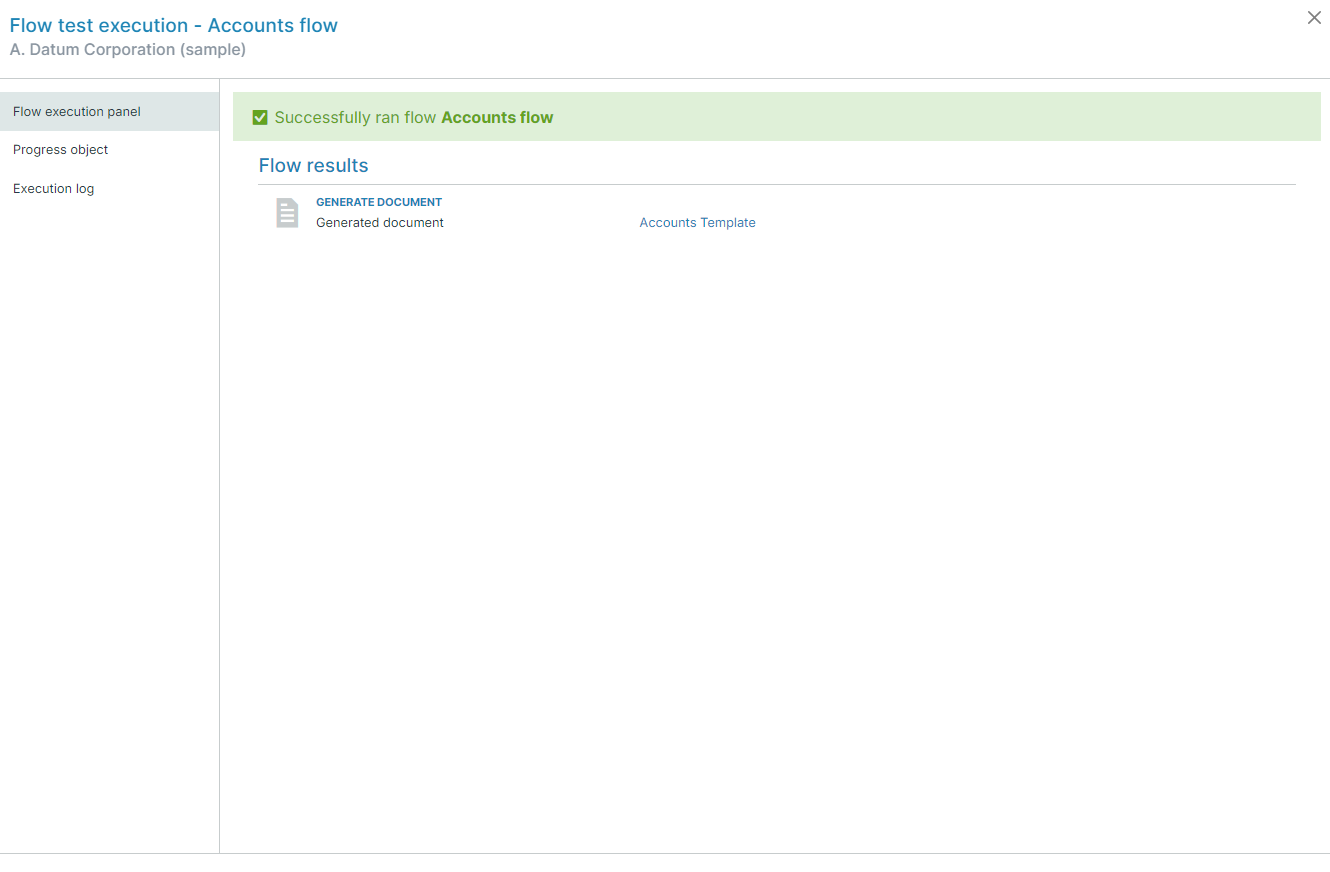
After running a flow test, it’s important to review the execution details to ensure that the flow operates as expected. The Flow test execution dialog provides a comprehensive view of the flow’s performance, including the flow’s output, progress, and execution logs.
Flow execution panel tab
The Flow execution panel is where you interact with the flow if it requires data input using a custom or Smart Form data set. When the flow execution is completed, the central area shows the flow output panel. You can also download or interact with created assets so long as they have not been set to delete at the end of the flow execution.
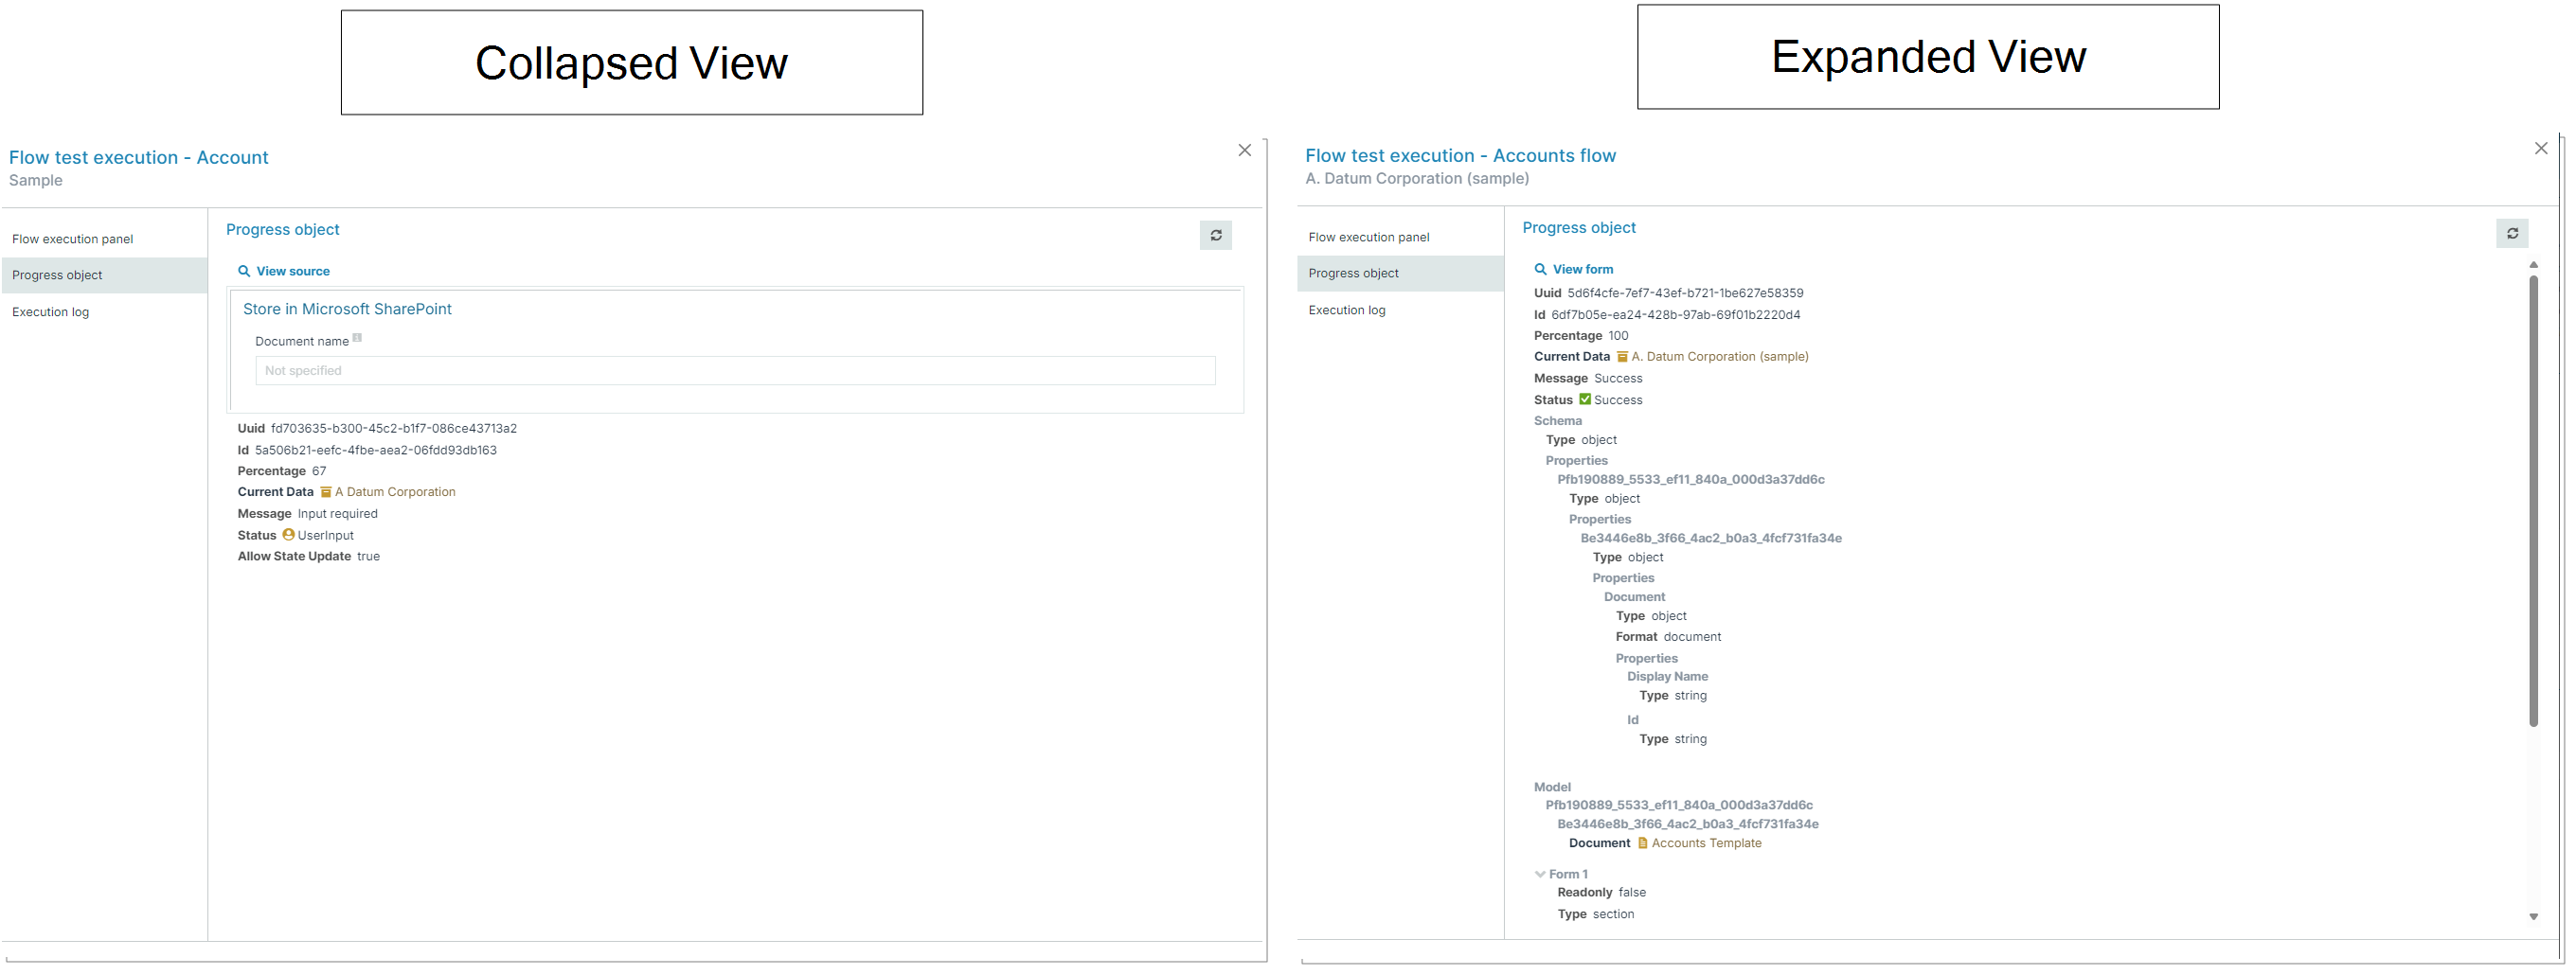
Progress object tab
The Progress object tab provides more information on the internal representation of the flow execution and can be helpful for debugging.
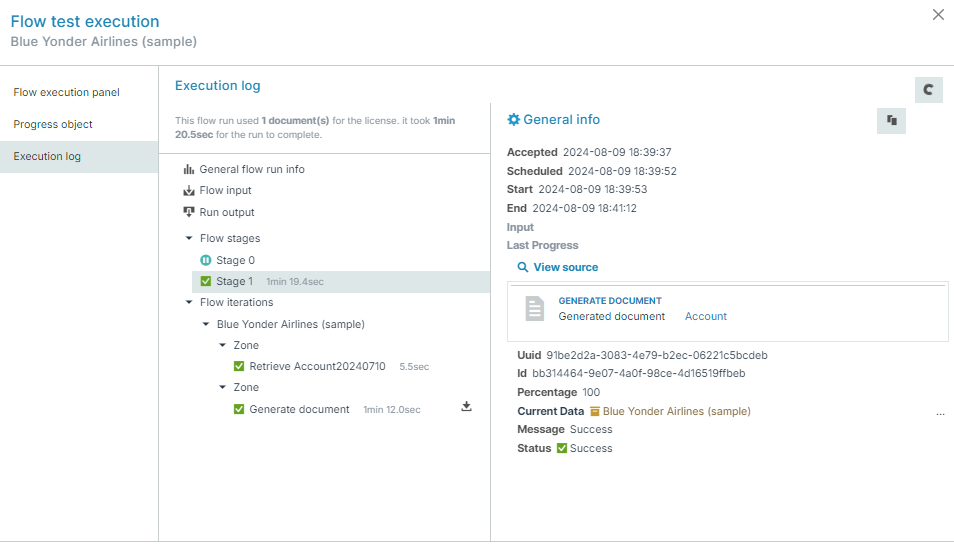
Execution log tab
The Execution log tab gives information for each step processed during the flow execution. For instance, if a step was generating a document you can download the result directly from this view using the copy icon.
Reviewing Previous Tests
If at least one test was executed on the flow, the Preview tests give the user access to the Flow test execution of the selected test. The previous tests displays the Flow execution panel tab, Progress object tab, and the Execution log tab.
