Adding a Trusted CRM Certificate
To configure connectors, an admin must upload a CRM certificate issued by the trusted authority. This CRM certificate verifies that the connection to the specific site is secure. If the certificate is not trusted, the system generates an error message. This page describes how to add the trusted CRM certificate to the Project Console.
How to add a trusted CRM certificate
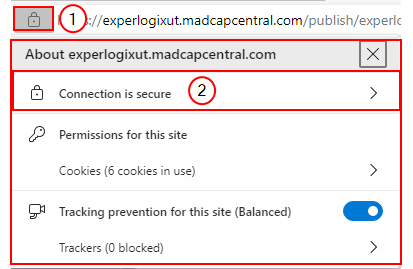
| 1. | In the Address Bar, select on the |
The About xpertdocone.crm4.dynamics.com windows displays.
Select the Connection is secure button.
The Connection is secure window displays.
| 2. | Select on the Show certificate button to view the CRM trusted certificate. |
The Certificate window opens.

| 3. | Select the Details tab. |
The certificate details display.
| 4. | Select the Copy to File button. |

The Certificate Export Wizard displays.
| 5. | Select the Next button. |

| 6. | In the Export File Format window, select Base-64 encoded X.509 (.CER) format to export the certificate. |
| 7. | Select the Next button. |

| 8. | Use the Browse button to specify the File name. |
| 9. | Select the Next button to complete the Certificate Export Wizard. |

"The export was successful" message displays.
| 10. | Select the Ok button. |
The Certificate Export Wizard no longer displays.

| 11. | In the Project Console, go to Control Panel > Settings > Certificates and select the + Add button. |
The Add Certificate window displays.
| 12. | In the Name field, input the name for the certificate. |
| 13. | (Optional)In the Description field, input a description for the certificate. |
| 14. | In the Certificate file field, select the Browse button. |
Use File Explorer to locate your Certificate file.
| 15. | Select Add button to upload the certificate. |

You can now view the uploaded certificate on the Project ConsoleList view.